Early Espresso with Abigail Rose Fancy Fold
I am not sure of the name of this fold as I have only seen it called a Vertical Freestanding Fun Fold (or Fancy Fold). I'm not sure if it has another name but do love the fold. It was not a difficult fold and I love the impact. I watched Emma Goddard create this fold during one of her recent (paid) classes - as always thanks for the inspiration Emma. I believe Susan Campfield, a US Demonstrator, has a uTube where she created this fold. I haven't watched the video but other of her videos are easy to follow. Here is a photo of the card looking down from the top.
Three pieces of Early Espresso card-stock were cut and scored. Two different designs of the Abigail Rose DSP were trimmed to fit appropriate panels. I used the Early Espresso/Very Vanilla/Crumb Cake tulip design for panels facing forward and the Memorandum lined design for the other panels to be covered with DSP.
My front panel of the card has an embossed Very Vanilla card-stock panel that is slightly smaller than the Early Espresso front panel. The Very Vanilla piece was embossed with one of my favourite Embossing Folders - the Timeworn Type 3D EF. As I was photographing the card, I wondered if I should have added some Petal Pink or Calypso Coral splatters - what do you think?
Two of the circular Stylish Shapes Dies were used to cut a ring from a Rose Gold sheet of the Gold & Rose Gold Metallic Speciality Paper. This was added to the card front with Mini Dimensionals. Tulips and a few leaves from the Tulip design of the DSP were coloured with Stampin' Blends, ie Petal Pink, Calypso Coral, So Saffron & Old Olive combos. Once coloured, they were fussy cut with Paper Snips.
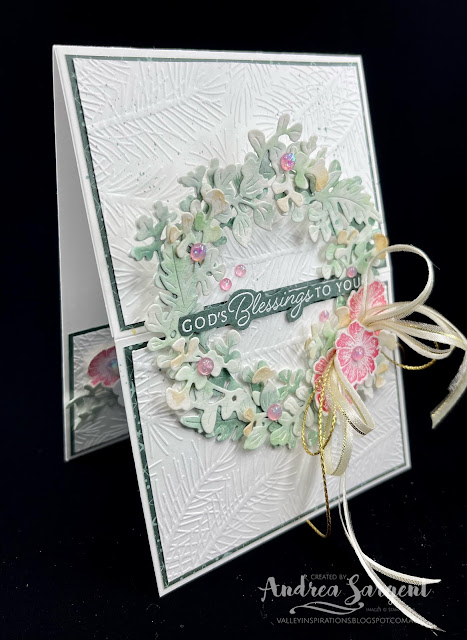
As I was arranging the tulips I thought something else was needed (partly because I had "lost" most of the coloured leaves), so I die cut the wreath from the Natural Prints dies in Basic White card-stock. This is such a gorgeous wreath. It was coloured with Mint Macaron and Pear Pizzazz Classic Stampin' inks and a Blending Brush. The coloured wreath was cut into sections that could be tucked under flowers at different places. All the pieces were arranged and adhered with either Glue Dots, Dimensionals or Multipurpose Liquid Glue.
A sentiment from the Cottage Rose stamp set was white heat embossed using Versamark ink, White Emboss Powder and a Heat Tool. A piece of Gold Simply Elegant Trim was coloured with a Dark Calypso Coral Blend to tied it in with the Rose Gold metallic ring. A double bow was added with Glue Dots. Some Petal Pink Elegant Faceted Gems gave touches of shimmer.
There is more Early Expresso creativity. To continue with the blog hop, click the "onto the next" graphic below to be taken to the blog of the lovey Rachel Palmieri. I always look forward to checking out Rachel's creations. I do love seeing everyones' projects - there is always so much inspiration.
Hope to see you next week when we will be featuring Evening Evergreen as we continue the weekly 2022-2023 Colour Creations blog hops. Also, don't forget that we are joining the Heart of Christmas Blog Hop on Monday evenings to share many delightful Christmas projects.


