CARD 1:
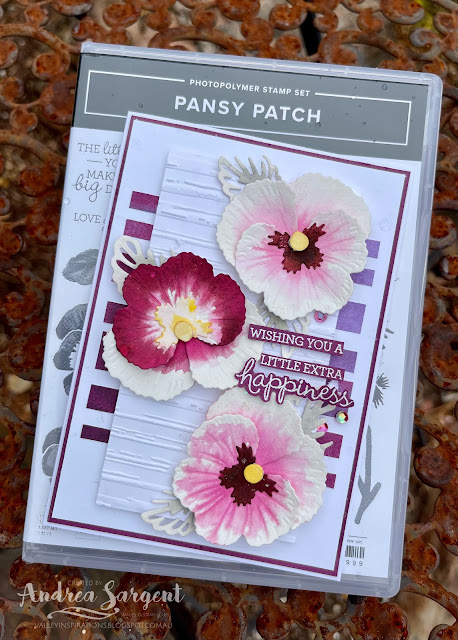
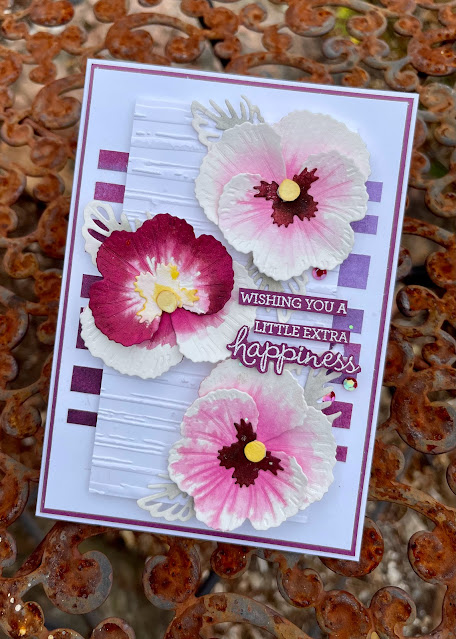
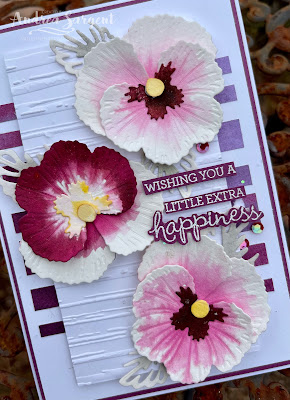
Pansy pieces from the Pansy dies were cut from Fluid 100 Watercolor Paper. Having researched pansy colours - checking a friend's pansies and a number of photographs, I then played with a mid-sized Water Painter and some Rich Razzlebury ink using the wet on wet water-colour technique. The flower centres were coloured with Daffodil Delight Classic ink and the leaf die cuts with Smoky Slate ink.
Basic White and Rich Razzlebury card-stocks were mounted on a Thick Basic White card-base. A piece of Flowering Fields Designer Series Paper (the piece that looks like water-coloured Rich Razzlebury and Highland Heather) was randomly trimmed into strips and then adhered to the white card front layer.
Another piece of Basic White card-stock was embossed with the Stripe embossing folder from the Stripes and Splatters 3D Embossing Folders.
The water-coloured pansy pieces were adhered together to form the pansies. I so love the way the wet colour channelled along the embossed pansy veins.
The pansies were positioned in place and a number of Smoky Slate water-coloured leaves were tucked under the pansies. The leaf die used is actually a part leaf die to be used on top of a open leaf die. I chose this die to help the leaves stay in the background.
The card front was finished with a sentiment from the same stamp set, Pansy Patch, that had been White heat embossed on Rich Razzlebury card-stock and fussy cut into pieces. The first 3 lines of the sentiment were added individually with Mini Dimensionals. Some Artistry Blooms Adhesive-Backed Sequins added a little shimmer, together with a sprinkling of Wink of Stella. I did try hard to add ribbon or trim but it didn't add anything so I decided to let the pansies shine.
The Basic White card inner was decorated with some extra Flowering Fields DSP strips and the 2nd half of the heat embossed sentiment. Some of the same DSP was adhered to the Basic White C6 Envelope flap to tie it in with the card.
I so love the effect of water-colouring with Rich Razzlebury Classic ink on the pansy die cut pieces. How about you?
CARD 2:
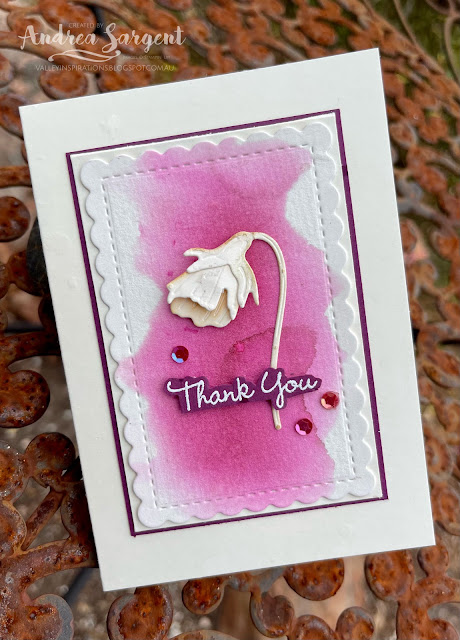
With the second card, I thought I would challenge myself and try to create a more minimalist card. I recently saw this challenge on one of the Facebook/Blog Challenges that I follow and thought it was time to challenge myself to create some clean and simpler cards. This was my first try. I know, the centre panel has been double mounted - read below to find out why...
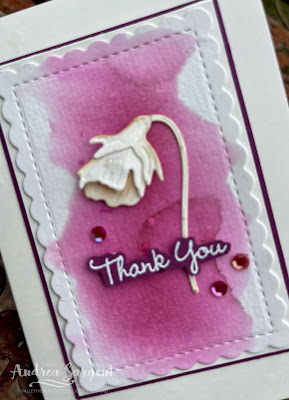
Some Rich Razzlebury Classic ink was wet on wet water-coloured on a piece of Fluid 100 Watercolor Paper. It was cut with a mid-sized die from the Scalloped Contour dies.
The 3 bud dies from the Pansy dies were used to cut Very Vanilla card-stock. The bud was formed and adhered on the water-coloured panel.
A sentiment from the same stamp set was White heat embossed on Rich Razzlebury card-stock, fussy cut and added with Mini Dimensionals. A few Artistry Blooms Adhesive-Backed Sequins were sprinkled around for that touch of bling.

This front panel was adhered directly to a Very Vanilla Notecard. You may be thinking " but that's not what is pictured". Quite right - that's because the front panel was accidentally adhered slightly askew. I found it annoying but kept going and stamped some pansies inside the notecard. A couple didn't stamp well so I decided to cut off the card front; trim it down slightly and adhere it to a new card front. HOWEVER, it was one of those days when I couldn't cut straight; so I trimmed ... and trimmed ... and trimmed ... Eventually, it seemed straight but by then it was quite close to the scallops. In frustration with myself, I decided to mount it onto a slightly larger piece of Rich Razzlebury card-stock and adhere this to the card front. I know, it isn't quite so minimalist now.
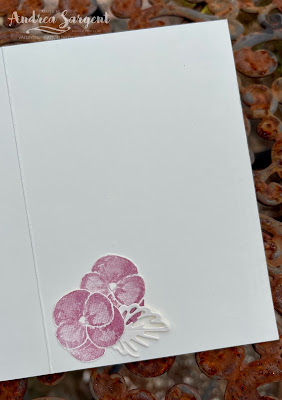
A couple of fussy cut stamped pansies (cut from the original inner stamping) and a small die cut leaf were adhered to the Very Vanilla card inner. A few pansies were stamped onto the front of the coordinating Very Vanilla Notecard Envelope.







Two lovely cards, that show quite different tones of this one beautiful colour, Andrea. I love the texture on your first card, and especially like your second card. I had a giggle at your "trimming" story ... we've all been there! LOL.
ReplyDeleteAndrea, you sure are a master of watercolour and you have achieved amazing results once again with these two gorgeous cards. I love all the layers on your first card, but your second one is equally as beautiful.
ReplyDeleteAndrea your watercolouring is amazing! Love both of these cards, but especially the minimalist second card - that wash of Rich Razzleberry is stunning! PS, I can totally relate to the trimmimg incident!
ReplyDeleteBoth cards are so pretty Andrea. The Wet on Wet watercolour technique is so effective for colouring your pansies and looks amazing! I love the single pansy on card 2, it has a real vintage look to it.
ReplyDelete