Sweet Sorbet with Dainty Delight & Paper Florist
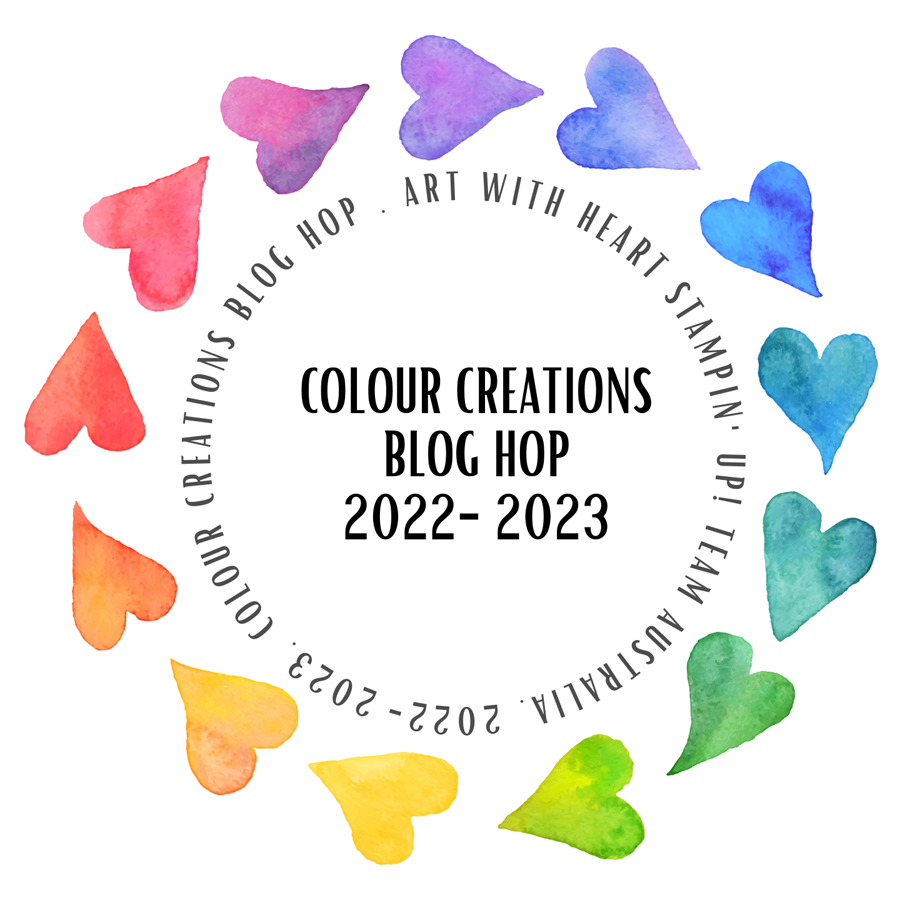
Hello. Welcome to Valley Inspirations with Andrea and the Art with Heart Colour Creations Blog Hop. We are working though the Stampin' Up! colours in alphabetical order, focussing on one colour each week. This is the penultimate week for the 2023-2024 round. The year has disappeared so quickly.

This week’s Blog Hop is focussing on a strong red with a slight purple tinge called Sweet Sorbet. Sweet Sorbet is part of the retiring 2022-2024 In Color Family and is a pretty red. This colour is lovely for flowers, hearts, a red and white colour scheme and anything you would like red.

Sweet Sorbet is produced in Stampin' Up!'s card-stock, both A4 & 12"x12"; Classic Stampin' inks (ink pads & re-inkers); Stampin' Write Marker; Stampin’ Blends Combo; In Color Designer Series Paper as well as Masterfully Made & Bee Mine DSPs; Adhesive-backed Hearts & Flowers, In Color Pearls; In Color Bakers Twine, and In Colour Metallic Woven ribbon. All of these products are retiring at the end of the month unless sold out earlier. If you love them - don’t wait to place your order.
.jpeg "Sweet Sorbet Paper Florist Fun Fold card, by Andrea Sargent, Australian Independent Stampin’ Up! Demonstrator, Adelaide southern foothills, South Australia")
Sweet Sorbet ink, card-stock, Stampin’ Write Marker, Masterfully Made and Bee Mine DSPs, In Color Pearls and Adhesive-backed Hearts and Flowers embellishments have been used in the creation of this project plus a range of non-Sweet Sorbet bits and pieces.
.jpeg "Sweet Sorbet Paper Florist Fun Fold card, by Andrea Sargent, Australian Independent Stampin’ Up! Demonstrator, Adelaide southern foothills, South Australia")
I saw this fancy fold created demonstrated recently by Emma Goddard, a very talented UK Stampin’ Up! Demonstrator and it was fresh in my mind so it made its way into this project. As can easily happen the card evolved and ended up including a range of products from different suites & bundles. It also ended up using 2 completely different DSPs that both included Sweet Sorbet, ie the Masterfully Made DSP that includes Sweet Sorbet flowers and the Bee Mine DSP with its Sweet Sorbet hearts.
.jpeg "Sweet Sorbet Paper Florist Fun Fold card, by Andrea Sargent, Australian Independent Stampin’ Up! Demonstrator, Adelaide southern foothills, South Australia")
I started with one of the designs of Masterfully Made DSP and die cut a series of pieces from Basic White card-stock to create a number of flowers using the Paper Florist dies and the Meadows dies (both sets of dies are retiring too). The flowers were coloured with a Blending Brush, ensuring the tips of the flowers were pale and the centres darker. Sweet Sorbet, Fresh Freesia, Berry Burst and Daffodil Delight were the ink colours. Some Shaded Spruce was blended over the front Basic White card-stock panel. The choice of these colours were inspired by the DSP.
.jpeg "Sweet Sorbet Paper Florist Fun Fold card, by Andrea Sargent, Australian Independent Stampin’ Up! Demonstrator, Adelaide southern foothills, South Australia")
The back inside panel of the card was stamped in Momento ink with the larger image from the Dainty Delight stamp set (another retiring item). I re-inked my Momento ink pad and it drank in the ink quickly - and wow, what a difference it made to the stamped image. I don’t know about you, but it can be easy to keep using our ink pads and forget to give them a little TLC. It does make a difference and improves the end result so much.
.jpeg "Sweet Sorbet Paper Florist Fun Fold card, by Andrea Sargent, Australian Independent Stampin’ Up! Demonstrator, Adelaide southern foothills, South Australia")
After forming the flowers and arranging them with the leaves, something else was needed, so 3 sizes of bees from the Bee Mine DSP were fussy cut and added for a whimsical touch. (Sometimes I can have a pixie-ish sense of humour.) A sentiment from the Dainty Delight Stamp set was stamped in Momento ink and fussy cut out.
.jpeg "Sweet Sorbet Paper Florist Fun Fold card, by Andrea Sargent, Australian Independent Stampin’ Up! Demonstrator, Adelaide southern foothills, South Australia")
The card was finished with a triple Sweet Sorbet Bakers Twine bow, Sweet Sorbet In Color Pearls and some Sweet Sorbet little Adhesive Backed Hearts. A little Sweet Sorbet splattering was added with a Stampin’ Write Marker.
.jpeg "Sweet Sorbet Paper Florist Fun Fold card, by Andrea Sargent, Australian Independent Stampin’ Up! Demonstrator, Adelaide southern foothills, South Australia")
A Basic White panel for writing a personal message was adhered onto the Sweet Sorbet inner Z fold. It was splattered using the Sweet Sorbet Stampin’ Write Marker and the larger bee and heart was adhered partially over the white panel and the stamped floral image. A Basic White C6 envelope was also stamped with the larger Dainty Delight image to coordinate with the card.
.jpeg "Sweet Sorbet Paper Florist Fun Fold card, by Andrea Sargent, Australian Independent Stampin’ Up! Demonstrator, Adelaide southern foothills, South Australia")
Thank you so much for dropping by on you way around the second to last Colour Creations Blog Hop for the 2023-2024 series. There will be so much Sweet Sorbet inspiration. Don’t miss any of the projects.
.jpeg "Sweet Sorbet Paper Florist Fun Fold card, by Andrea Sargent, Australian Independent Stampin’ Up! Demonstrator, Adelaide southern foothills, South Australia")
To continue with the Sweet Sorbet blog hop just click the "next" graphic below to be taken to the blog of a special lady and our blog hop coordinator, Cathy Proctor. I am looking forward to checking out Cathy’s creation(s). I do love seeing everyone’s' projects - there is always so much inspiration.

I do hope to see you next week when we will be featuring Tahitian Tide as we finish the weekly 2023-2024 Colour Creations Blog Hop series.
Stay well, stay safe and be kind to yourself and others.
Andrea 💕🐾
If you find a broken link or would like to view the full list of participants go to Catherine Proctor’s blog @ What Cathy Made. Cathy is our brilliant Art With Heart Team Colour Creations Coordinator. She is a wonderful lady. Check out her delightful creation while you are there.
If you live in Australia, don't already have a Stampin' Up! demonstrator and would like your own copy of the new Stampin' Up 2024-2025 Annual Catalogue, then let me know and I will be delighted to send it to you. Please don't hesitate to make contact with any other queries about this project or Stampin' Up!
#colourcreationsbloghop #stampinup #stampinupaustralia #stampinupsouthpacific #stampinupdemo #handmadecards #makeacardsendacard #stampinupdemonstrator #papercrafting #artwithheartteam #papercrafter #valleyinspirations #masterfullymade #daintydelight #paperflorist

.jpeg "Orchard Oasis Hot Air Balloon & Stargazing Stampin’ Up! cards, by Andrea Sargent, Australian Independent Stampin’ Up! Demonstrator, Adelaide southern foothills, South Australia")
.jpeg "Orchard Oasis Hot Air Balloon Stampin’ Up! cards, by Andrea Sargent, Australian Independent Stampin’ Up! Demonstrator, Adelaide southern foothills, South Australia")
.jpeg "Orchard Oasis Hot Air Balloon Stampin’ Up! cards, by Andrea Sargent, Australian Independent Stampin’ Up! Demonstrator, Adelaide southern foothills, South Australia")
.jpeg "Orchard Oasis Hot Air Balloon Stampin’ Up! cards, by Andrea Sargent, Australian Independent Stampin’ Up! Demonstrator, Adelaide southern foothills, South Australia")
.jpeg "Orchard Oasis Hot Air Balloon Stampin’ Up! cards, by Andrea Sargent, Australian Independent Stampin’ Up! Demonstrator, Adelaide southern foothills, South Australia")
.jpeg "Orchard Oasis Hot Air Balloon Stampin’ Up! cards, by Andrea Sargent, Australian Independent Stampin’ Up! Demonstrator, Adelaide southern foothills, South Australia")
.jpeg "Orchard Oasis Hot Air Balloon Stampin’ Up! cards, by Andrea Sargent, Australian Independent Stampin’ Up! Demonstrator, Adelaide southern foothills, South Australia")
.jpeg "Orchard Oasis Hot Air Balloon Stampin’ Up! cards, by Andrea Sargent, Australian Independent Stampin’ Up! Demonstrator, Adelaide southern foothills, South Australia")
.jpeg "Orchard Oasis Hot Air Balloon Stampin’ Up! cards, by Andrea Sargent, Australian Independent Stampin’ Up! Demonstrator, Adelaide southern foothills, South Australia")
.jpeg "Orchard Oasis Stargazing Stampin’ Up! cards, by Andrea Sargent, Australian Independent Stampin’ Up! Demonstrator, Adelaide southern foothills, South Australia")
.jpeg "Orchard Oasis Stargazing Stampin’ Up! cards, by Andrea Sargent, Australian Independent Stampin’ Up! Demonstrator, Adelaide southern foothills, South Australia")
.jpeg "Orchard Oasis Stargazing Stampin’ Up! cards, by Andrea Sargent, Australian Independent Stampin’ Up! Demonstrator, Adelaide southern foothills, South Australia")
.jpeg "Orchard Oasis Stargazing Stampin’ Up! cards, by Andrea Sargent, Australian Independent Stampin’ Up! Demonstrator, Adelaide southern foothills, South Australia")
.jpeg "Orchard Oasis Stargazing Stampin’ Up! cards, by Andrea Sargent, Australian Independent Stampin’ Up! Demonstrator, Adelaide southern foothills, South Australia")
.jpeg "Orchard Oasis Stargazing Stampin’ Up! cards, by Andrea Sargent, Australian Independent Stampin’ Up! Demonstrator, Adelaide southern foothills, South Australia")