Art with Heart Wow Tutorials

Showing posts with label Something Fancy. Show all posts

Wednesday, 30 August 2023

AWH Colour Creations Blog Hop #18 Coastal Cabana

Coastal Cabana with Sea Turtle +

Hello. Welcome to Valley Inspirations with Andrea and the Art with Heart Colour Creations Blog Hop. We are working though the Stampin' Up! colours in alphabetical order, focussing on one colour each week.


This week’s Blog Hop is focussing on a rich deep berry colour called Coastal Cabana. Coastal Cabana is one of the Brights Colour Family and is a bright-ish aqua. As the name suggests, this colour is lovely for sea themes and could be used for so many other things. 


Coastal Cabana is produced in Stampin' Up!'s card-stock, both A4 & 12"x12"Classic Stampin' inks (ink pads, spots re-inkers); Stampin' Write Marker; Watercolor Pencils Assortment 2; Soft Pastels, Brights Designer Series Paper as well as the Confetti Birthday Kit, Light the Candle Card Kit and Ombré Matt Decorative Dots.


Coastal Cabana card-stock, ink and Stampin’ Write Marker have been used in the creation of this project plus a range of non-
Coastal Cabana bits and pieces.


The Sea Turtles stamp set arrived in my last Stampin’ Up! order and it seemed a brilliant combination to pair it with Coastal Cabana. I recently saw a card by Kim Gibbons Fee, a UK Demonstrator and previous Stampin’ Up! Artisan, where Kim used the bubble technique. I hadn’t played with this technique for ages and thought it would be fun to try it in Coastal Cabana. I had forgotten how important it was to keep the amount of water to a minimum and found I needed to keep adding many drops of re-inker and then more & more. I am disappointed the fun bubble effect doesn’t really show in the photos. It is evident in real life but still rather delicate.


I started with a small bowl, partially filled with water. A little dishwashing liquid was added to the bowl and then numerous drops of Coastal Cabana Classic Stampin’ re-inker. I put an end of a straw into the water and blew till bubbles built up and over the top of the bowl. The bubbles were scooped off onto a piece of Basic White card-stock. Initially, there was no colour effect, so I added more, & more, & more drops of ink. Bubbles were blown and scooped over 2 pieces of Basic White card-stock. As mentioned, in the end the bubble effect was still delicate but I thought it would be OK. Looking back now I would have liked it a bit darker so the effect was more evident. 

A little diluted Crumb Cake ink was applied with the wide brush Water Painter to indicate a sandy beach. When the front panel had dried thoroughly a little Embossing Paste was applied with a Palette Knife to the area where sea & sand converge. This was left to dry too.


The small turtle from the Sea Turtle stamp set was stamped onto Basic White card-stock in Misty Moonlight Classic Stampin’ ink. The stamp was turned over on the block and then stamped over the turtle image in second generation Coastal Cabana Classic ink. They are so cute in real life.  Some extra colours, depth and highlights were added to give the turtles a little more dimension. Smoky Slate, Daffodil Delight, Old Olive Blends combos were used and then the White Watercolor Pencil (Assortment 1) was used to had highlights. 

The star fish from the Sea Turtle stamp set were stamped in Crumb Cake ink and then over stamped in second generation Petal Pink ink using the back of the stamp. The sea dollars were stamped in Crumb Cake ink and filled in with second generation stamping. The turtles, star fish and the sea dollars were all fussy cut.


This card is a simple fun-fold card, that is when the front flap opens (as above), there is another flap that can open to the right. This was created with a Pool Party card base with a smaller Coastal Cabana card base adhered inside the Pool Party card to the back panel, but with the inner card opening to the right. I have used the top of this flap for a turtle scene. They are swimming in the sea. A panel of bubble coloured card-stock was cut with a Deckled Rectangle die, then mounted on a slightly larger piece of Basic White card-stock before being mounted onto the top Coastal Cabana panel. Part of a larger filigree sea plant from the Beauty of the Deep stamps was white heat embossed in the lower left corner. (Only little bits can be seen behind the turtle & plants - but at least I know it’s there - wink).


The Beauty of the Sea bundle was used to create sea plants (one being heat embossed with white on Vellum & the other die cut and lightly inked with a Blending Brush) and the anchor (silver embossed on Vellum). Some Linen Thread was tied to the anchor and frayed.


The card front was created with the bubble technique panel adhered to a slightly larger piece of Basic White card-stock. A circular Stylish Shape die cut a hole through the card front and also through the Pool Party panel so the scene underneath can be partially seen. The card front was positioned with Dimensionals. A little turtle was added near the hole and some white embossed sea plant was tucked under the card front with it showing over the scene below. A sentiment from the Something Fancy stamp set was white heat embossed onto Pool Party card-stock. It was positioned with Mini Dimensionals, with a couple of star fish tucked underneath with some frayed twine (a strand of the Silver Threaded Twine that was sitting on my work station). A few Flat Adhesive-backed Pearls were scattered near the sentiment. I love these Pearls.


The inner panel for writing the personal message is a piece of Basic White card-stock with a couple of star fish and sea dollar, a sentiment from the Seaside Bay stamp set and an extra Flat Adhesive-backed Pearl. The snippets of bubble coloured card-stock seen on the back panel were left over from die cutting a panel with a Deckled Rectangle die.


A C6 Basic White envelope was stamped in Coastal Cabana ink with one of the sea plant stamps from the Beauty of the Sea stamp set.
 

Thank you for calling in to check out my Coastal Cabana card. I do appreciate you spending time with me.


There is more Coastal Cabana creativity so do continue with the blog hop. Just click the "next" graphic below to be taken to the blog of the lovely Di FurnissI am looking forward to checking out Di’s creation (I wonder if it is one of Di’s amazing fancy folds). I do love seeing everyones' projects - there is always so much inspiration.

I do hope to see you next week when we will be featuring Crumb Cake as we continue the weekly 2023-2024 Colour Creations Blog Hop series. We will also be Blog Hopping every Monday night for the Heart of Christmas Blog Hop.

Stay well, stay safe and be kind to yourself and others.

Andrea 💕🐾

If you find a broken link or would like to view the full list of participants go to Catherine Proctor’s blog @ What Cathy Made. Cathy is our brilliant Art With Heart Team Colour Creations Coordinator.  She is a special lady. Check out her delightful creation while you are there.

If you live in Australia, don't already have a Stampin' Up! demonstrator and would like your own copy of the Stampin' Up 2023-2024 Annual Catalogue and or the new September-December Mini Catalogue then let me know and I will be delighted to send them to you.  Please don't hesitate to make contact with any other queries about these projects or Stampin' Up!. 


#colourcreationsbloghop  #stampinup #stampinupaustralia #stampinupsouthpacific #stampinupdemo  #handmadecards #makeacardsendacard #stampinupdemonstrator #papercrafting #artwithheartteam  #papercrafter  #valleyinspirations   #seaturtle     #beautyofthedeep  #seasidebay   #somethingfancy  #deckledrectangles

Wednesday, 19 July 2023

AWH Colour Creations Blog Hop #12 Berry Burst

Berry Burst with Quiet Meadow & Cheerful Daisies

Hello. Welcome to Valley Inspirations with Andrea and the Art with Heart Colour Creations Blog Hop. We are working though the Stampin' Up! colours in alphabetical order, focussing on one colour each week.


This week’s Blog Hop is focussing on a bright happy purple called Berry Burst. Berry Burst is part of the Brights Colour Family and is a pinky purple. This colour would be lovely when used for florals, berries and balloons, plus so much more.  Berry Burst was first introduced by Stampin’ Up! as an In Colour and was brought back with this years colour refresh.


Berry Burst is produced in Stampin' Up!'s card-stock, both A4 & 12"x12"Classic Stampin' inks (ink pads re-inkers); Stampin' Write Marker; Stampin' Blends Combo; Brights Designer Series Paper as well as Bright & Beautiful, Stargazing, Masterfully Made & Glorious Gingham DSPs; plus Soft Shimmer, White Centre & Holographic Trio Speciality Papers; Bright & Beautiful Memories & More Card Pack and Cards & Envelopes; as well as Tinsel Gems Four Pack & Adhesive Backed Sequins Trio.

Water-colouring gold embossed flowers or a colourful background featuring Stampin’ Up!s Berry Burst creates delightful card to give to special people.

Berry Burst card-stock, ink and Tinsel Gems Four Pack have been used in the creation of these projects plus a range of non-Berry Burst bits and pieces.

Last weekend I was privileged to demonstrate a Watercolouring technique at a combined event that had been selected as one of Stampin’ Up!s 35 for 35 events (#35for35) in celebration of Stampin’ Up!s 35 year anniversary. These 2 cards were linked to my water-colour demonstrations.

CARD 1

Water-colouring gold embossed flowers featuring Stampin’ Up!s Berry Burst creates a delightful birthday card.

One of the water-colour techniques demonstrated was a wet-on-wet water-colouring of stamped images. I had gold heat embossed on Fluid 100 Watercolor Paper the flower from the Quiet Meadow stamp set and then water-coloured within the images. The images above were water-coloured with Berry Burst, Lemon Lolly (and a touch of Daffodil Delight), Gorgeous Grape, Azure Afternoon. Once dry, the flowers were fussy cut, however, they could have been die cut using the Meadow dies. I took the flowers to cut out when I was wanting to sit & relax, hence the fussy cutting.

Water-colouring gold embossed flowers featuring Stampin’ Up!s Berry Burst creates a delightful birthday card.

The top row of flowers are water-coloured with Berry Burst. The bottom row has been coloured with Lemon Lolly/Daffodil Delight, Gorgeous Grape, & Azure Afternoon. The middle row was water-coloured with a combination of inks from the top row above and the bottom row below.

Water-colouring gold embossed flowers featuring Stampin’ Up!s Berry Burst creates a delightful birthday card.

Two smaller stitched square dies from the Stylish Shapes dies were cut from Basic White card-stock, ie 9 of the two sizes for each of the 9 flowers to sit on. Some leaves from the Meadows dies were also cut from Basic White card-stock.

Water-colouring gold embossed flowers featuring Stampin’ Up!s Berry Burst creates a delightful birthday card.

All the pieces were arranged, layering the smaller square over the slightly larger square, which was adhered with Dimensionals to the Thick Basic White card base. The flowers were adhered with Multipurpose Liquid Glue in the centre. Parts of the leaves were tucked under the flowers with Glue Dots.

Water-colouring gold embossed flowers featuring Stampin’ Up!s Berry Burst creates a delightful birthday card.

A sentiment from the Something Fancy Stamp set was gold heat embossed on Basic White card-stock and a thin strip of Berry Burst card-stock was adhered under the sentiment strip. A piece of Gold Elegant Trim was tied into a double bow and slipped under the sentiment. Some oh so gorgeous Berry Burst Tinsel Gems from the Four Pack were scattered around the sentiment strip.

Water-colouring gold embossed flowers featuring Stampin’ Up!s Berry Burst creates a delightful birthday card.

The inside of the card was decorated with a thin strip of Berry Burst card-stock, a water-coloured flower and a couple of left over pieces of die cut leaves. I ran out of time to create a square 6” envelope, so will do that in the next couple of days.

Water-colouring gold embossed flowers featuring Stampin’ Up!s Berry Burst creates a delightful birthday card.


CARD 2

Water-colouring a colourful background with white daisies on top featuring Stampin’ Up!s Berry Burst creates a delightful card.

This card was created as one of the display samples to show created projects using samples of the techniques being demonstrated. This card incorporates a wet-on-wet water-coloured background and also features the Cheerful Daisies bundle.

Water-colouring a colourful background with white daisies on top featuring Stampin’ Up!s Berry Burst creates a delightful card.

A piece of Fluid 100 Watercolor Paper was wet on wet water coloured using Berry Burst, Gorgeous Grape, and a touch of Azure Afternoon Classic inks. The wide brushed Water Painter was used to apply water & inks. The panel was left to dry and then die cut with a mid-sized Deckled Rectangle set of dies. Some of the colours blended in some areas to give a look similar to Fresh Freesia, so the watercolour panel was mounted onto a slightly larger piece of Fresh Freesia card-stock. I so love seeing the effect of water-colouring - you will never get the same effect twice.

Water-colouring a colourful background with white daisies on top featuring Stampin’ Up!s Berry Burst creates a delightful card.

Pieces of die cut daisies were cut from Basic White card-stock using the Cheerful Daisies dies, ie both layers of the daisy dies, the leaves and the twig die. Two of the Nested Essential dies cut elongated shapes from Basic White card-stock and the larger shape from a piece of leafy Vellum Basics.

Water-colouring a colourful background with white daisies on top featuring Stampin’ Up!s Berry Burst creates a delightful card.

A sentiment from the Layering Leaves stamp set was stamped on Basic White card-stock and fussy cut out - I think I used Misty Moonlight ink. Iridescent Rhinestone Basics were sprinkled around.

Water-colouring a colourful background with white daisies on top featuring Stampin’ Up!s Berry Burst creates a delightful card.

A Basic White card-stock inner has a very thin strip of Fresh Freesia card-stock adhered to the right and die cut side-view daisy adhered at the top right.

Water-colouring a colourful background with white daisies on top featuring Stampin’ Up!s Berry Burst creates a delightful card.

Thank you so much for dropping by to check out my Berry Burst creations. I so appreciate it.

Water-colouring a colourful background with white daisies on top featuring Stampin’ Up!s Berry Burst creates a delightful card.

There is more Berry Burst creativity, so continue with the blog hop. Just click the "next" graphic below to be taken to the blog of the lovely Amie McIllroyI am looking forward to checking out Amie’s creation(s). I do love seeing everyones' projects - there is always so much inspiration.

I hope to see you next week when we will be featuring Blackberry Bliss, newly added to the Neutrals Colour family, as we continue the weekly 2023-2024 Colour Creations Blog Hop series

Stay well, stay safe and be kind to yourself and others.

Andrea 💕🐾

If you find a broken link or would like to view the full list of participants go to Catherine Proctor’s blog @ What Cathy Made. Cathy is our brilliant Art With Heart Team Colour Creations Coordinator.  She is a wonderful lady. Check out her delightful creation while you are there.

If you live in Australia, don't already have a Stampin' Up! demonstrator and would like your own copy of the new Stampin' Up 2023-2024 Annual Catalogue, then let me know and I will be delighted to send it to you.  Please don't hesitate to make contact with any other queries about these projects or Stampin' Up!. 


#colourcreationsbloghop  #stampinup #stampinupaustralia #stampinupsouthpacific #stampinupdemo  #handmadecards #makeacardsendacard #stampinupdemonstrator #papercrafting #artwithheartteam  #papercrafter  #valleyinspirations   #cheerfuldaisies   #quietmeadows  #somethingfancy  #layeringleaves

Wednesday, 26 April 2023

AWHT Colour Creations #50 Soft Suede

Soft Suede with Greatest Journey 

Hello. Welcome to Valley Inspirations with Andrea and the Art with Heart Colour Creations Blog Hop. We have been working though the Stampin' Up! colours in alphabetical order, focussing on one colour each week. This week’s Blog Hop is the last in the 2022-2023 series.


This Blog Hop is focussing on a retiring deep warm brown called Soft Suede. Soft Suede is part of the Neutrals Colour Family and is a rich and versatile colour. This colour is lovely when used for masculine projects, for trees, earthy themes and so much more. It works well with so many colours. 


Soft Suede is produced in Stampin' Up!'s card-stock, both A4 & 12"x12"Classic Stampin' inks (ink pads re-inkers); Stampin' Write Markers; Stampin' Blends Combo; Neutrals Designer Series Paper as well as Happy Forest Friends, Ready to Ride, Like an Animal Speciality, Fancy Flora and Texture Chic Speciality DSPs; as well as Texture Chic Memories & More Card Pack and Cards & Envelopes; the Christmas Whimsy Card Kit and the Timeless Greetings Kit. That’s a solid list demonstrating the colour's versatility.

Strong colours (like Soft Suede) and an activity theme displayed in a fun fold are great when creating a card for a fella.

Soft Suede card-stock and ink have been used in this project plus a range of non-Soft Suede bits and pieces.

Strong colours (like Soft Suede) and an activity theme displayed in a fun fold are great when creating a card for a fella.

I created this card for a male friend’s birthday. He is a jogger and cyclist, so I couldn’t go past the Greatest Journey bundle with the Enjoy the Journey Designer Series Paper. All of these products are retiring on 1 May 2023 so if you are inspired by this project don’t wait. NB: I have just realised that the dies have already sold out but the Greatest Journey stamps and Enjoy the Journey DSP are available for a limited time. The card was created prior to knowing retiring colours and products so my apologies that the dies are no longer available.

Strong colours (like Soft Suede) and an activity theme displayed in a fun fold are great when creating a card for a fella.

Retiring Pale Papaya card-stock was cut and scored for this Double Z-fold card and pieces of a design from the Enjoy the Journey DSP were cut to size and adhered directly to each panel in order so the DSP design flowed across the card. The back and left side panels were stamped with trees using Soft Suede Classic Stampin’ ink prior to the DSP being adhered in place. Strips of Vellum card-stock were cut for the top layer and pieces of Soft Suede card-stock were cut using the mountain top die from the Greatest Journey dies to create the hilly rocky ground. 

Strong colours (like Soft Suede) and an activity theme displayed in a fun fold are great when creating a card for a fella.

The previous photo shows the card from above so you can see the way the top and bottom sections fold. The Vellum was embossed with the retiring In the Clouds Embossing Folder. It was then scored to support the folding of the Vellum. Some clouds and a crescent moon were also die cut from Vellum. The die cut panels of Soft Suede were embossed with the Splatters EF of the Stripes & Splatters 3D Embossing Folders set, before being scored. A little Soft Suede strip was also cut to enable an extra layer with some tree tops. Three figures were also die cut from Soft Suede card-stock, eg the runner, the bike rider and the hiker, plus a walking stick and some plants.

Strong colours (like Soft Suede) and an activity theme displayed in a fun fold are great when creating a card for a fella.

Shading was added to the Soft Suede die cuts with Soft Suede Classic Stampin’ ink and a Sponge Dauber. The Vellum top section was lightly adhered in place. Multipurpose Liquid Glue was added to the back of the Vellum with another Sponge Dauber. The Soft Suede section was adhered in place at the base and the extra strip was positioned and die cut stamped tree tops were added to build dimension within the scene. The die cut plants were tucked behind the rocks on the back panel. The 3 figures were added with Dimensionals apart from feet and base of wheels that were adhered directly with a small dot of Multipurpose Liquid Glue.

Strong colours (like Soft Suede) and an activity theme displayed in a fun fold are great when creating a card for a fella.

A birthday sentiment from the Something Fancy stamp set was white heat embossed on Soft Suede card-stock using Versamark ink, White Emboss powder and a Heat Tool. The sentiment was fussy cut and added with Mini Dimensionals. Some Enamel Dot Essentials added the finishing touch for the card design.

Strong colours (like Soft Suede) and an activity theme displayed in a fun fold are great when creating a card for a fella.

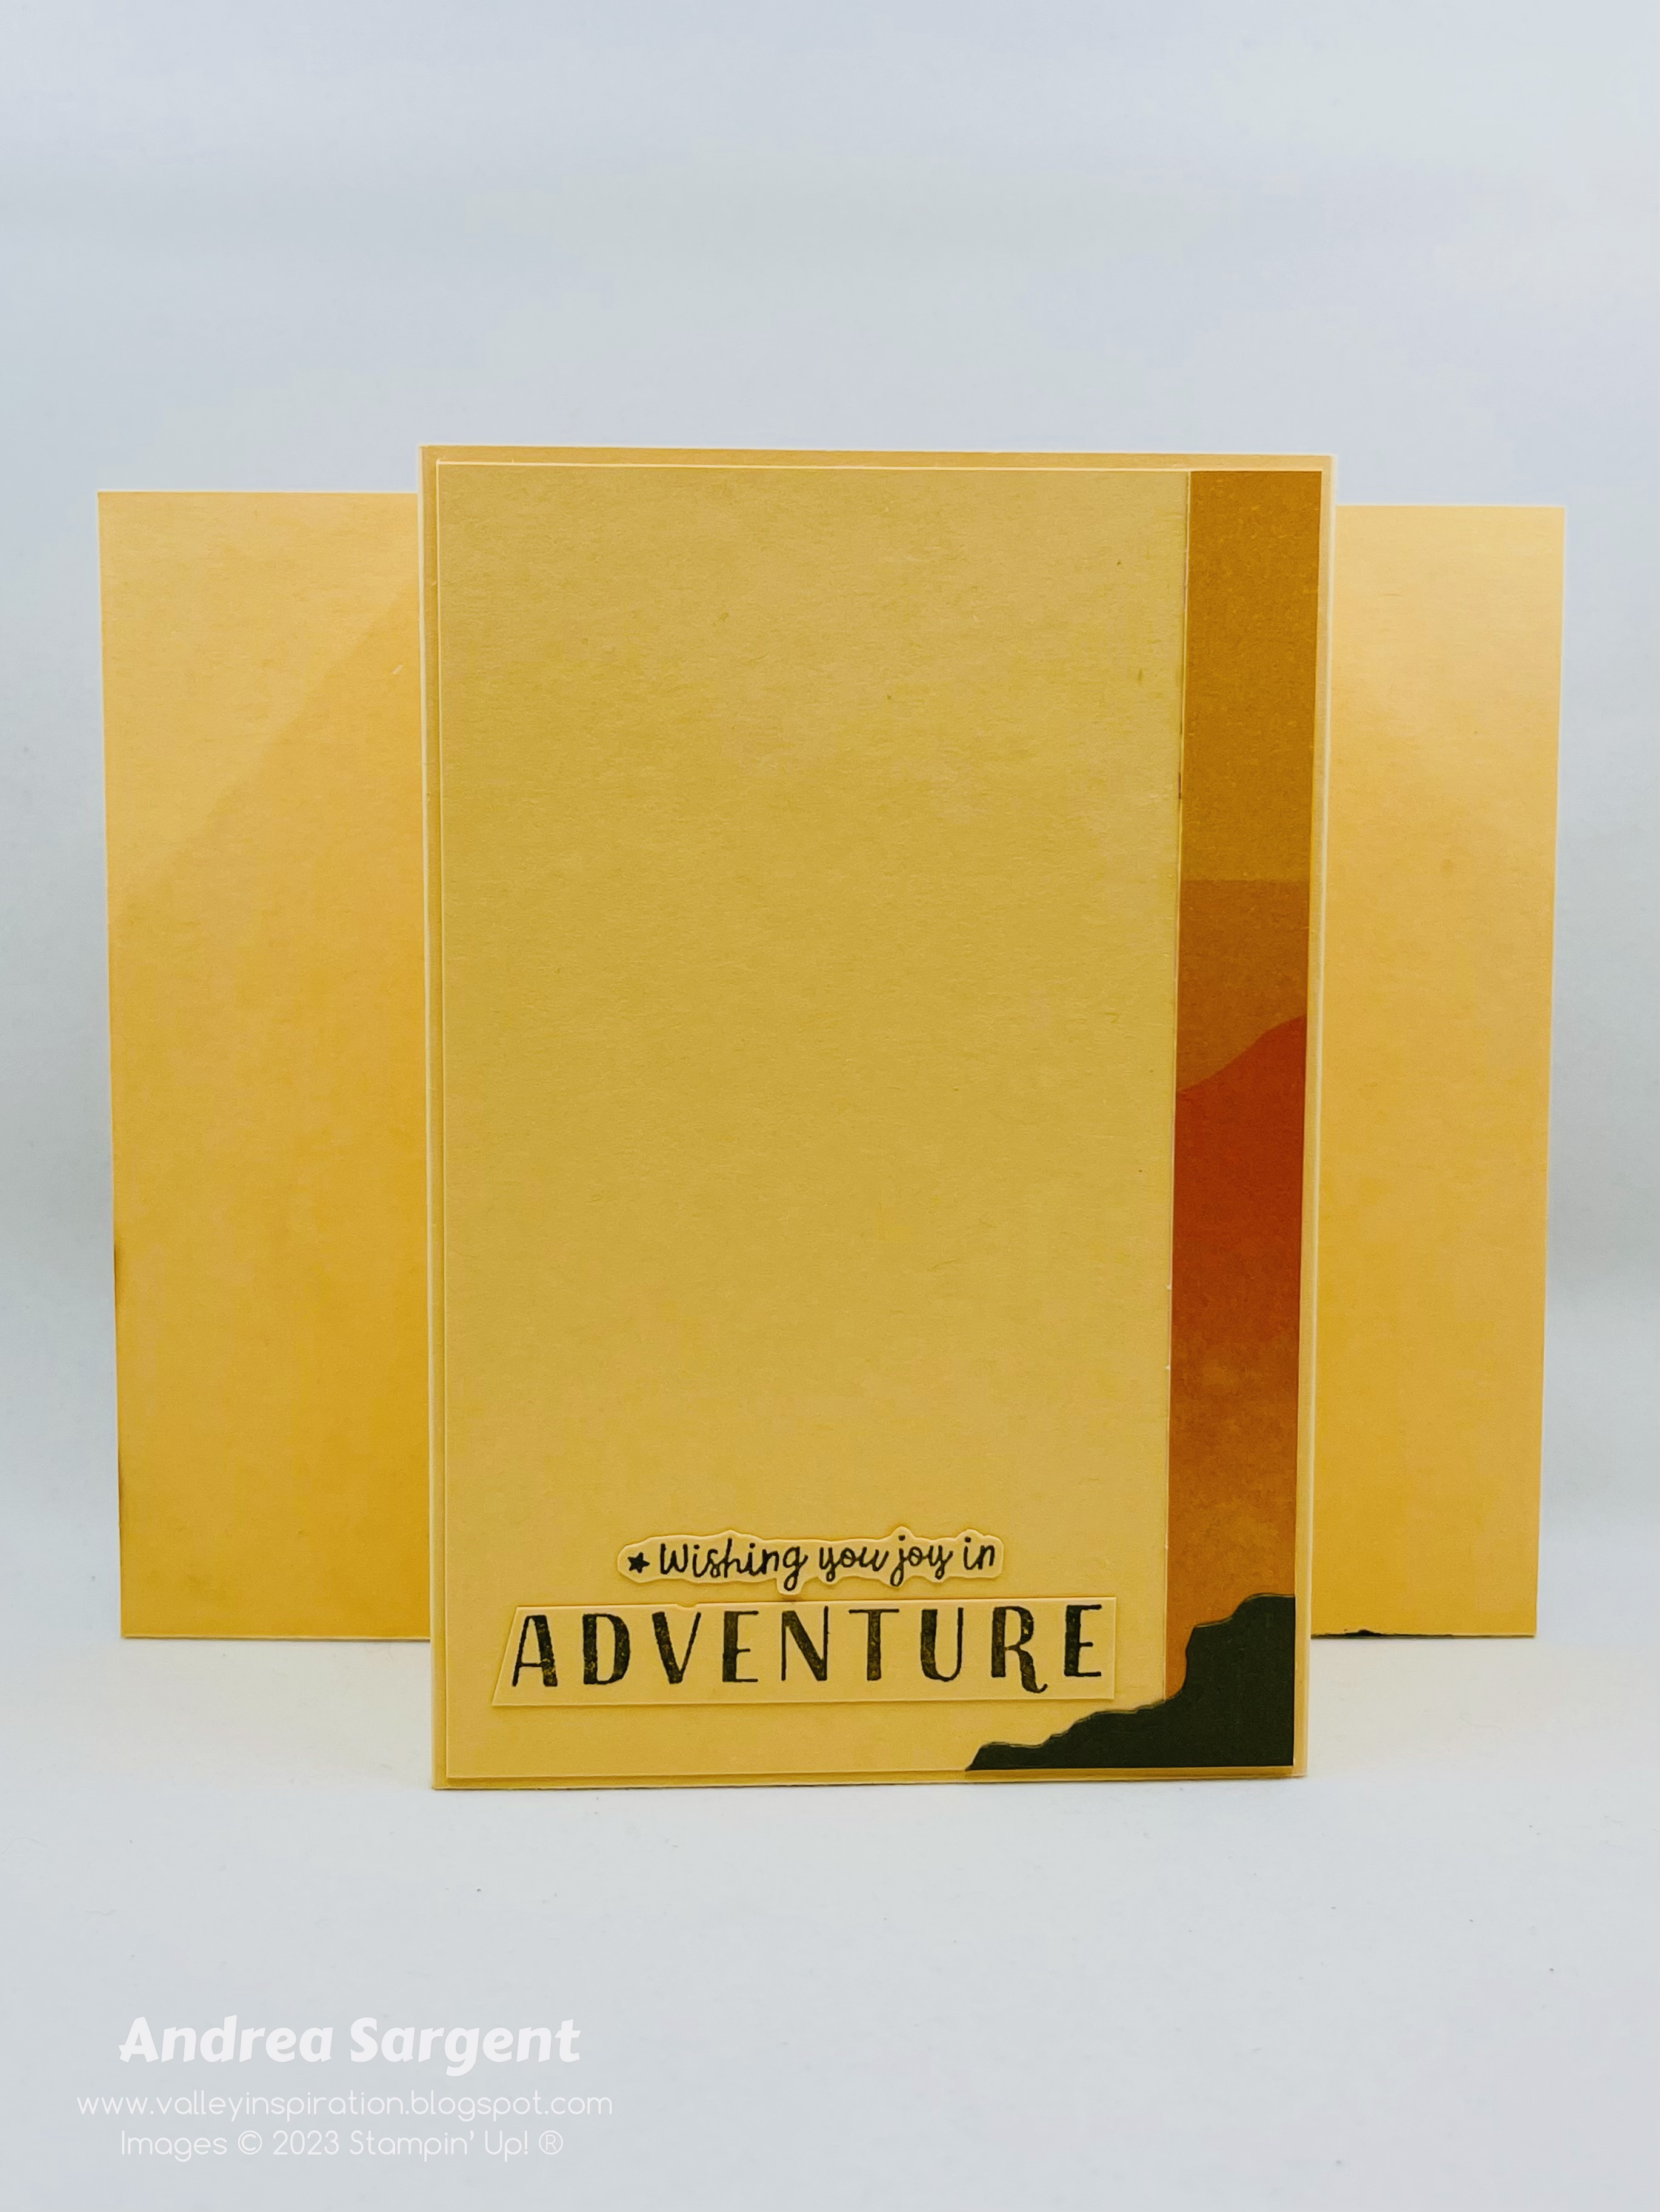
A Pale Papaya card-stock panel had a strip of the DSP added to the right and a small die cut piece of mountain top/rock was adhered at the base. A sentiment from the Greatest Journey stamp set was stamped in Soft Suede ink on a scrap of Pale Papaya card-stock. The sentiment was fussy cut as I wanted to omit a few of the words at the end of the first line. The card could be folded to fit into a standard Basic White C6 envelope. A thin strip of the DSP was added to the left edge of the envelope and a sentiment from the Something Fancy stamp set was stamped in Soft Suede ink. I wasn’t well so wasn’t able to attend the recipient’s birthday celebration and the card was given later, so this sentiment was perfect.

Strong colours (like Soft Suede) and an activity theme displayed in a fun fold are great when creating a card for a fella.

Thank you so much for dropping in. I so appreciate it.

Strong colours (like Soft Suede) and an activity theme displayed in a fun fold are great when creating a card for a fella.

There is more Soft Suede creativity. To continue with the blog hop, click the "onto the next" graphic below and be taken to the blog of the lovely and talented Rachel Woollard
I look forward to checking out Rachel’s creations. I do love seeing everyones' projects - there is always inspiration.

I hope to see you next week, when we will be commencing the new series of AWHT Colour Creations Blog Hops for 2023-2024. We will be featuring the new colours first, starting with Boho Blueone of the new 2023-2025 In Colour family.

Stay well, stay safe and be kind to yourself and others.

Andrea 💕🐾


If you find a broken link or have come to this blog hop from a different entry point, you can view the full list of participants on Catherine Proctor’s blog @ What Cathy Made. Cathy is our  Art With Heart Team Colour Creations Coordinator.  She is a special lady. Check out her delightful creation while you are there.

If you live in Australia, don't already have a Stampin' Up! demonstrator and would like your own copy of the new Stampin' Up 2023-2024 Annual Catalogue then let me know and I will be delighted to send it to you.  Please don't hesitate to make contact with any other queries about this project or Stampin' Up!. 

#colourcreationsbloghop  #stampinup #stampinupaustralia #stampinupsouthpacific #stampinupdemo  #handmadecards #makeacardsendacard #stampinupdemonstrator #papercrafting #artwithheartteam  #papercrafter  #stamper  #valleyinspirations   #greatestjourney  #somethingfancy

Wednesday, 19 April 2023

AWHT Colour Creations #49 Soft Succulent

Soft Succulent with Two-Tone Flora

Hello. Welcome to Valley Inspirations with Andrea and the Art with Heart Colour Creations Blog Hop. We are working though the Stampin' Up! colours in alphabetical order, focussing on one colour each week. This blog hop is the penultimate blog hop for this 2021-2023 series.


This week’s Blog Hop is focussing on a muted green called Soft Succulent. Soft Succulent is part of the retiring 2021-2023 In Colour Family and is a delightful colour. This colour is lovely when used for leaves, plants, at Christmas time and works with so many colours. 


Soft Succulent 
is
 produced in Stampin' Up!'s card-stock, both A4 & 12"x12"Classic Stampin' inks (ink pads re-inkers); Stampin' Write Markers; Stampin' Blends Combo; In Colour Designer Series Paper as well as Fancy Flora, Delicate Desert, Lovely Linen, Pretty Prints, He’s the Man, Flowering Fields and Harvest Meadows DSPs; plus Texture Chic Speciality; Dry Brushed Metallic Speciality; Fine Shimmer; Brushstroke Speciality papers; Birthday Card Organiser Kit; Love Treats Kit; Christmas Whimsy Card Kit; Slimline Envelopes; Texture Chic Memories & More Cards; Texture Chic Memories & More Cards & Envelopes; Satin Shimmer Ribbon and Festive Pearls. That’s a solid list demonstrating the colour's versatility.


Soft Succulent card-stock, ink, Stampin' Write Marker, Fancy Flora DSP and Festive Pearls have been used in creating this project plus a range of non-Soft Succulent bits and pieces.


I so so love the Fancy Flora DSP with its painterly designs and so I thought I would feature both sides of one of the sheets that uses Soft Succulent. This card design was featured by Rachel Tessman, a US Stampin’ Up! demonstrator, recently. It uses a full 6”x6” sheet of DSP and enables both sides to shine. I have used the DSP with the coordinating stamps and dies from the Fancy Flora Suite. There was no wastage of the DSP as the thin off-cut strip from trimming the sheet down to a standard card height of 14.9cm, was used on the inside of the card to partially decorate the panel for writing the personal message.


As mentioned above, a sheet of DSP was trimmed on one side to cut it to the height of a standard portrait card. The DSP was scored to enable it to fold behind a 1/4sheet of Soft Succulent card-stock. It was scored a second time to support the sheet being folded back to show the other side of the DSP on the front. I struggled a bit initially, as I wanted to show the more pattered design on the card front, but then thought the two-tone flowers would better contrast with the Soft Succulent/Evening Evergreen design. Thin strips of Brushed Gold Metallic paper and Soft Succulent card-stock were tucked under the folded back edge.


A mid-sized deckled rectangle was cut from Basic White card-stock using the Deckled Rectangles dies. The large detailed die from the Two-Tone Flora dies was cut out and used as a mask to very lightly blend some Soft Succulent Classic Stampin’ ink onto the deckled label. Taking the colour combo from the DSP, the flowers from the Two-Tone stamped flowers were stamped in Fresh Freesia, Highland Heather, Orchard Oasis, Petal Pink and Calypso Coral Classic inks. Soft Succulent and Evening Evergreen inks were used for the leaves.


The flowers and leaves were die cut with coordinating dies from the Two-Tone Flora dies. They were arranged and adhered with Multi-Purpose Liquid Glue, Dimensionals or Glue Dots. The Gold Satin Edged ribbon was a swish layered under the floral arrangement. A sentiment from the Something Fancy stamps was white heat embossed using Soft Succulent card-stock, Versamark ink, White Emboss powder and a Heat Tool. It was added with Mini Dimensionals. Some Soft Succulent Festive Pearls were the finishing touch.


I love the inside of the card as it showcases the “A” side of the DSP. Another sentiment from the Something Fancy stamp set was stamped directly onto the DSP with Evening Evergreen ink. A Two-Tone flower was stamped onto Basic White card-stock and the thin DSP off-cut was adhered down the side. A Basic White C6 Envelope was decorated with a left over flower and leaf.


Thank you so much for calling in and spending time with me. 

I looove Soft Succulent and Evening Evergreen and am sad to see them leave the Stampin’ Up! palette. The Fancy Flora DSP, Gold Satin Edged ribbon, Soft Succulent card-stock and ink, plus the Brushed Metallic Paper are all retiring and 1 May will be the last day to purchase them unless they are sold out earlier. Thankfully, the Two-Tone Flora and Something Fancy stamps and dies are carrying over into the new Stampin’ Up! Annual Catalogue.


There is more Soft Succulent creativity. To continue with the blog hop, click the  "onto the next" graphic below and be taken to the blog of the lovely and talented Rachel WoollardI look forward to checking out Rachel’s creation. I do love seeing everyones' projects - there is always inspiration.

I hope to see you next week when we will be featuring Soft Suedeone of the retiring colours from the Neutrals Colour family, as we finalise the weekly 2022-2023 Colour Creations Blog Hop series.  Don’t worry - we will be continuing to Blog Hop the following week and will initially focus on the new 2023-2025 In Colours.

Stay well, stay safe and be kind to yourself and others.

Andrea 💕🐾


If you find a broken link or have come to this blog hop from a different entry point, you can view the full list of participants on Catherine Proctor’s blog @ What Cathy Made. Cathy is our  Art With Heart Team Colour Creations Coordinator.  She is a special lady. Check out her delightful creation while you are there.

If you live in Australia, don't already have a Stampin' Up! demonstrator and would like your own copy of new Stampin' Up's 2023-2024 Annual Catalogue, then let me know and I will be delighted to send it to you.  Please don't hesitate to make contact with any other queries about this project or Stampin' Up!. 

#colourcreationsbloghop  #stampinup #stampinupaustralia #stampinupsouthpacific #stampinupdemo  #handmadecards #makeacardsendacard #stampinupdemonstrator #papercrafting #artwithheartteam  #papercrafter  #stamper  #valleyinspirations   #twotoneflora #somethingfancy    #deckledrectangles

Be Inspired - July 2026 - Creating Backgrounds

Be Inspired Design Team Blog Hop CREATING BACKGROUNDS Welcome to Valley Inspirations with Andrea and the July  Be Inspired Blog Hop  where w...