
ANYTHING GOES WITH A FUNKY FOLD
Welcome to the second Funky Folds Blog Hop.

We are a group of like-minded paper crafters who love to make cards with funky folds. Funky actually means "modern and stylish in an unconventional or striking way"... so we are featuring cards that are not your usual rectangle/square portrait or landscape style. Think 'easel', 'pop-up', 'gatefold', 'z-fold', 'shaped' or 3D cards etc. The list is endless. All Blog Hops have an 'anything goes' theme using any type of 'funky' card fold.
.jpeg "Gorgeously Made Funky Fold Stampin’ Up! card, by Andrea Sargent, Australian Independent Stampin’ Up! Demonstrator, Adelaide southern foothills, South Australia")
Here is my Funky Fold card for April. I had other plans but recently saw a friend post the fold I had in mind so I decided to try a different fold. The Thick Basic White card-stock pieces for this fold were already cut to size on my work-station so decided to take it in a different direction. I hope you like my Gorgeously Made Funky Fold. No, I’m not blowing my own trumpet - the card features Stampin’ Up!s Gorgeously Made bundle and coordinating Masterfully Made Designer Series Paper. Sadly this delightful suite is retiring as it hasn’t carried over into Stampin’ Up!s new 2024-2025 Annual Catalogue that is commencing this coming May.
.jpeg "Gorgeously Made Funky Fold Stampin’ Up! card, by Andrea Sargent, Australian Independent Stampin’ Up! Demonstrator, Adelaide southern foothills, South Australia")
As you can see, this fun fold has a back panel and then smaller panels that layer on each side standing to the front. Each panel is covered with a slightly smaller piece of the beautiful Masterfully Made DSP.
.jpeg "Gorgeously Made Funky Fold Stampin’ Up! card, by Andrea Sargent, Australian Independent Stampin’ Up! Demonstrator, Adelaide southern foothills, South Australia")
The two smallest front standing panels were decorated with various elements. The left front panel has a piece of Basic White card-stock that was cut on one side with the wonderful page binding die from the Gorgeously Made die set and 2nd generation stamping of worn text from the Gorgeously Made Stamp Set. A sliced in half piece of Silver & White Sheer ribbon was wrapped around the white panel and tied into a double bow. A sentiment from the stamp set was white heat embossed onto a small piece of Fresh Freesia card-stock and fussy cut out.
.jpeg "Gorgeously Made Funky Fold Stampin’ Up! card, by Andrea Sargent, Australian Independent Stampin’ Up! Demonstrator, Adelaide southern foothills, South Australia")
The other front panel was decorated with numerous leaves and flowers. The bottom leaf was die cut from Vellum (retiring) using the fuller of the Gorgeously Made dies. The other leaf die from the same set was used to cut a few leaf sprigs from Basic White card-stock. The other flowers and leaves were die cut using the Paper Florist dies - sadly, also retiring. The petals were die cut from a section of the DSP while the leaves were cut from Basic White card-stock. Fresh Freesia Classic Stampin’ ink was added to the DSP petals with a Blending Brush; while Pretty Peacock ink was lightly applied to the leaves/stems.
.jpeg "Gorgeously Made Funky Fold Stampin’ Up! card, by Andrea Sargent, Australian Independent Stampin’ Up! Demonstrator, Adelaide southern foothills, South Australia")
While the back panel could be left blank for writing the personal message, it has been decorated to enhance the overall effect of the card when standing on display. A sentiment from the continuing So Sincere stamp set was white heat embossed onto Fresh Freesia card-stock. It was cut into 3 before being added with Dimensionals near the centre so the words could be read while the card is standing. A white Gorgeously Made die cut leaf was tucked in behind the sentiment pieces. Some beautiful Iridescent Rhinestone Jewels (retiring) added a touch of shimmer around the sentiments and floral arrangement on the front and back panels.
.jpeg "Gorgeously Made Funky Fold Stampin’ Up! card, by Andrea Sargent, Australian Independent Stampin’ Up! Demonstrator, Adelaide southern foothills, South Australia")
The back of the card was simply decorated as a panel for writing one’s personal message. A C6 Basic White envelope was stamped in Fresh Freesia ink and then lightly blended over the edge with the same colour ink.
.jpeg "Gorgeously Made Funky Fold Stampin’ Up! card, by Andrea Sargent, Australian Independent Stampin’ Up! Demonstrator, Adelaide southern foothills, South Australia")
And ‘yes’, this funky fold still fits within a standard C6 envelope.
.jpeg "Gorgeously Made Funky Fold Stampin’ Up! card, by Andrea Sargent, Australian Independent Stampin’ Up! Demonstrator, Adelaide southern foothills, South Australia")
Thank you so much for dropping in on your way around the second Funky Folds Blog Hop. Thank you so much Bronwyn Eastley for instigating and coordinating this funky blog hop.
.jpeg "Gorgeously Made Funky Fold Stampin’ Up! card, by Andrea Sargent, Australian Independent Stampin’ Up! Demonstrator, Adelaide southern foothills, South Australia")
Up next is the lovely Monique Fielding from Stamping with MoniQ. I am looking forward to seeing Monique’s funky fold and to hopping around to check out everyone’s’ creations in our second Funky Folds Blog Hop. Just click on the graphic below to be taken to Monique’s blog.

If you love to make cards with creative folds and would like to join in with our monthly Funky Folds Blog Hops, you are welcome to head on over to our community group on Facebook to be part of the fun.
facebook.com/groups/funkyfoldsbloghops
Stay well, stay safe and be kind to yourself and others.
Andrea 💕🐾
If you live in Australia, don't already have a Stampin' Up! demonstrator and would like your own copy of the new Stampin' Up 2024-2025 Annual Catalogue, then let me know. I will be delighted to send it to you and to be your Stampin’ Up! Demonstrator. Please don't hesitate to make contact with any other queries about this project or Stampin' Up!.
#stampinup #stampinupaustralia #stampinupsouthpacific #stampinupdemo #handmadecards #makeacardsendacard #stampinupdemonstrator #papercrafting #papercrafter #valleyinspirations #gorgeouslymade #sosincere #paperflorist #masterfullymade


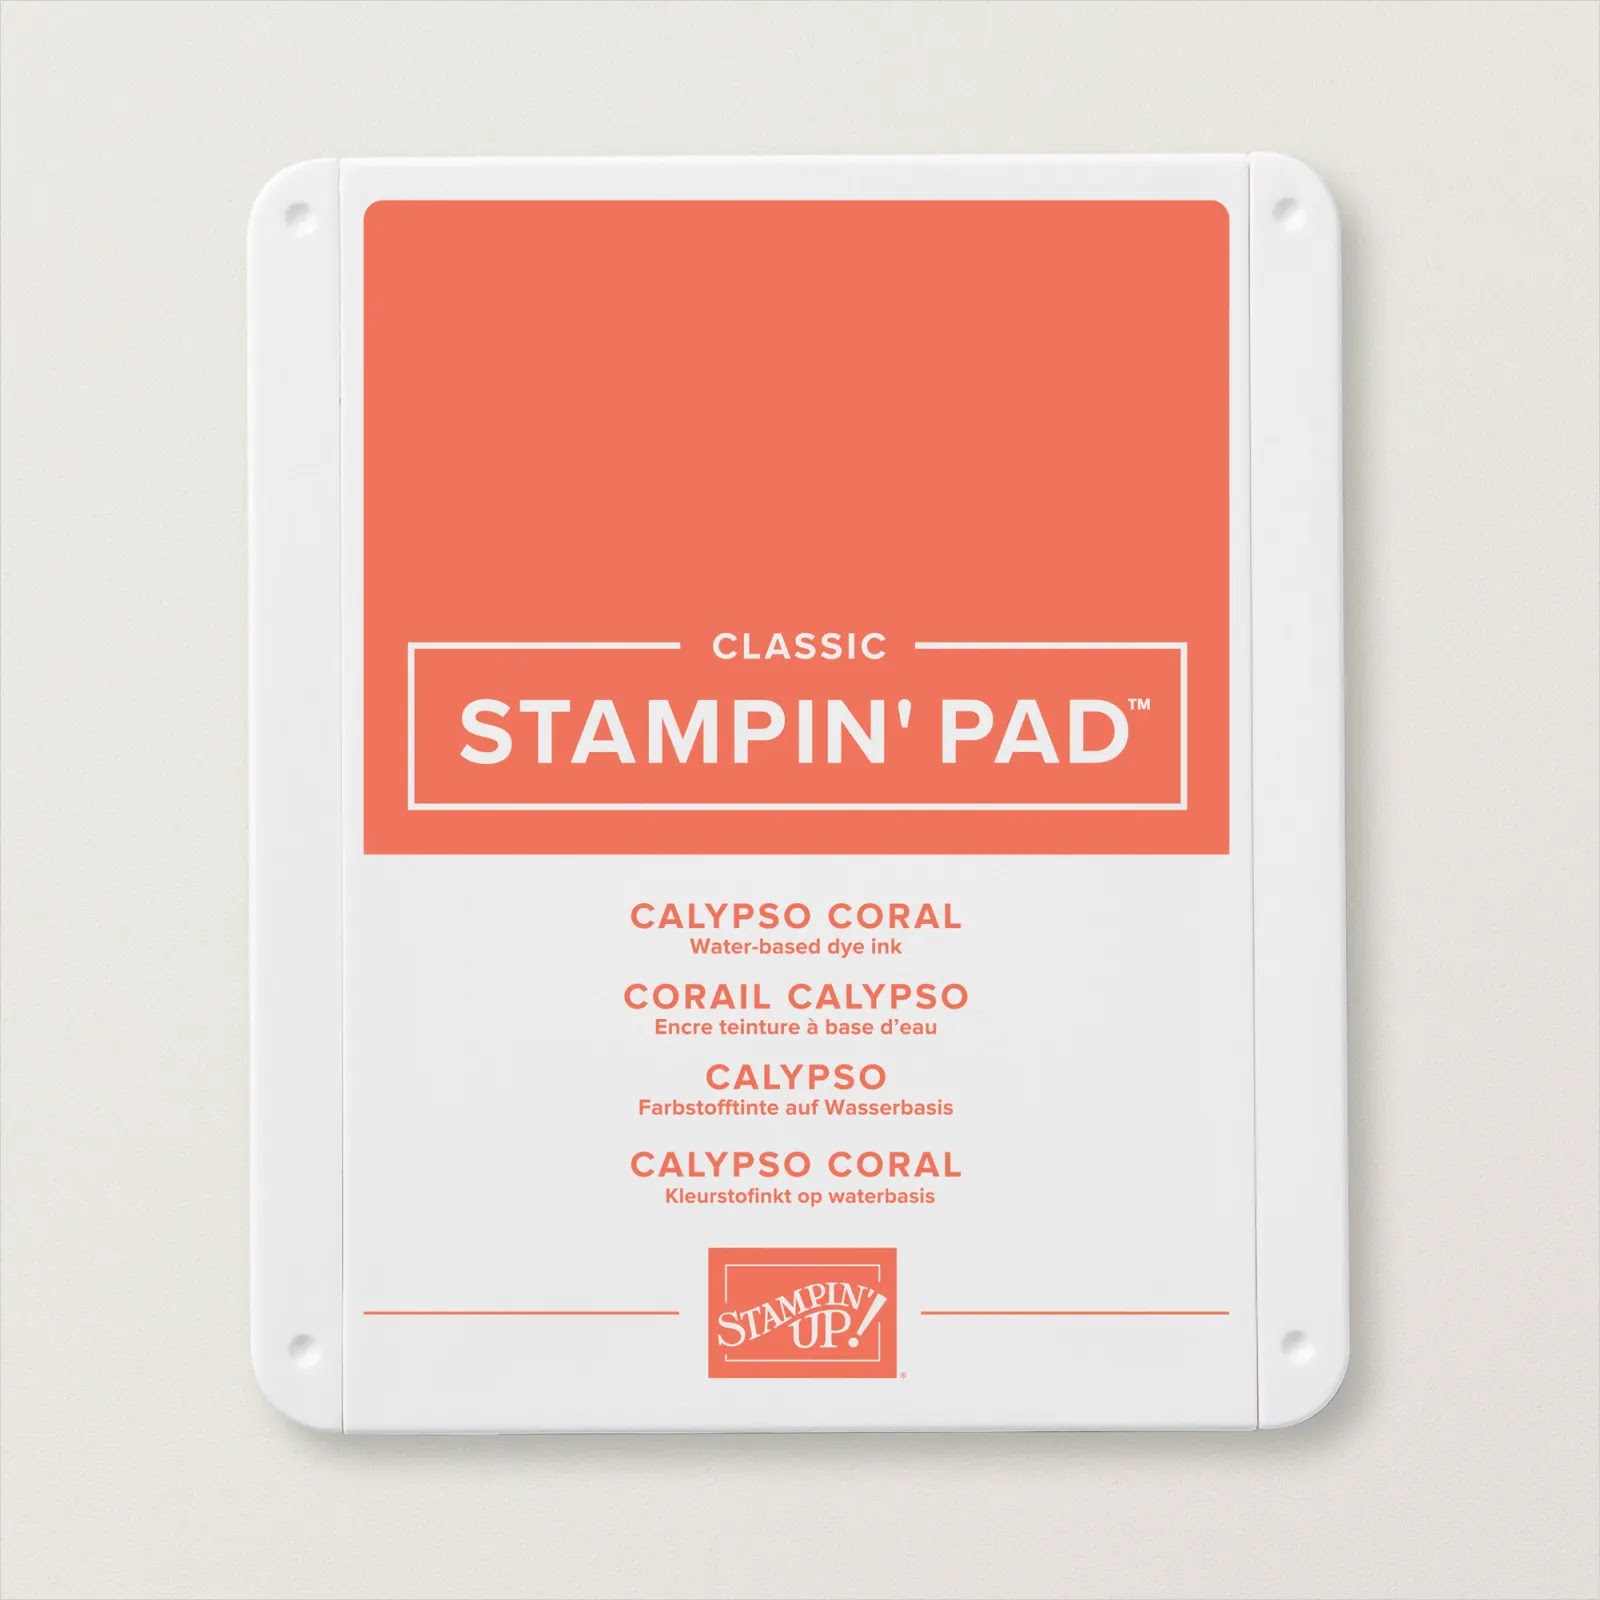
.jpeg "Calypso Coral Bird’s Eye View Stampin’ Up! card, by Andrea Sargent, Australian Independent Stampin’ Up! Demonstrator, Adelaide foothills, South Australia")
.jpeg "Calypso Coral Bird’s Eye View Stampin’ Up! card, by Andrea Sargent, Australian Independent Stampin’ Up! Demonstrator, Adelaide foothills, South Australia")
.jpeg "Calypso Coral Bird’s Eye View Stampin’ Up! card, by Andrea Sargent, Australian Independent Stampin’ Up! Demonstrator, Adelaide foothills, South Australia")
.jpeg "Calypso Coral Bird’s Eye View Stampin’ Up! card, by Andrea Sargent, Australian Independent Stampin’ Up! Demonstrator, Adelaide foothills, South Australia")
.jpeg "Calypso Coral Bird’s Eye View Stampin’ Up! card, by Andrea Sargent, Australian Independent Stampin’ Up! Demonstrator, Adelaide foothills, South Australia")
.jpeg "Calypso Coral Bird’s Eye View Stampin’ Up! card, by Andrea Sargent, Australian Independent Stampin’ Up! Demonstrator, Adelaide foothills, South Australia")
.jpeg "Calypso Coral Bird’s Eye View Stampin’ Up! card, by Andrea Sargent, Australian Independent Stampin’ Up! Demonstrator, Adelaide foothills, South Australia")
.jpeg "Calypso Coral Bird’s Eye View Stampin’ Up! card, by Andrea Sargent, Australian Independent Stampin’ Up! Demonstrator, Adelaide foothills, South Australia")
.jpeg "Calypso Coral Bird’s Eye View Stampin’ Up! card, by Andrea Sargent, Australian Independent Stampin’ Up! Demonstrator, Adelaide foothills, South Australia")


.jpeg "Cajun Craze Cheerful Daisies Stampin Up card, by Andrea Sargent, Australian Independent Stampin’ Up! Demonstrator, Adelaide foothills, South Australia")
.jpeg "Cajun Craze Cheerful Daisies Stampin Up card, by Andrea Sargent, Australian Independent Stampin’ Up! Demonstrator, Adelaide foothills, South Australia")
.jpeg "Cajun Craze Cheerful Daisies Stampin Up card, by Andrea Sargent, Australian Independent Stampin’ Up! Demonstrator, Adelaide foothills, South Australia")
.jpeg "Cajun Craze Cheerful Daisies Stampin Up card, by Andrea Sargent, Australian Independent Stampin’ Up! Demonstrator, Adelaide foothills, South Australia")
.jpeg "Cajun Craze Cheerful Daisies Stampin Up card, by Andrea Sargent, Australian Independent Stampin’ Up! Demonstrator, Adelaide foothills, South Australia")
.jpeg "Cajun Craze Cheerful Daisies Stampin Up card, by Andrea Sargent, Australian Independent Stampin’ Up! Demonstrator, Adelaide foothills, South Australia")
.jpeg "Cajun Craze Cheerful Daisies Stampin Up card, by Andrea Sargent, Australian Independent Stampin’ Up! Demonstrator, Adelaide foothills, South Australia")
.jpeg "Cajun Craze Cheerful Daisies Stampin Up card, by Andrea Sargent, Australian Independent Stampin’ Up! Demonstrator, Adelaide foothills, South Australia")
.jpeg "Cajun Craze Cheerful Daisies Stampin Up card, by Andrea Sargent, Australian Independent Stampin’ Up! Demonstrator, Adelaide foothills, South Australia")
.jpeg "Cajun Craze Cheerful Daisies Stampin Up card, by Andrea Sargent, Australian Independent Stampin’ Up! Demonstrator, Adelaide foothills, South Australia")
.jpeg "Cajun Craze Cheerful Daisies Stampin Up card, by Andrea Sargent, Australian Independent Stampin’ Up! Demonstrator, Adelaide foothills, South Australia")


