Art with Heart Wow Tutorials

Showing posts with label Scenic Adventure. Show all posts

Sunday, 20 July 2025

CASEing the Catty #529 - CASE A Card Kit

CASE a Card Kit meets By Your Side Kit

Hello, Welcome to Valley Inspirations with Andrea and #529 Challenge with CASEing the Catty.


I am so glad you have dropped by. You may have come from Julia Quinn, as you take this week’s Blog Hop or perhaps arrived directly here; either way I am delighted you are here. At the end of my blog, I have linked to Peta Stephen so you can continue on with the Blog Hop.

At CASEing the Catty we love to use the samples from the Stampin' Up! Catalogues as inspiration and each week we have a different theme to guide our CASEing. To CASE is to "Copy And Selectively Edit" or some say "Copy And Share Everything". This week we are CASE-ing any of the current Card Kits found on-line in the Kits Section at Stampin’ Up! @stampinupofficial


What a choice! There are numerous current kits with many different cards to consider. They can be a wonderful starting point when wanting to create, whether making the projects as suggested within the kits or stepping them up or using the products to create something different. For this week’s challenge I decided to use the By Your Side Kit to make an alternative project:


The fun fold is one that can have the box section at the bottom, whether making a landscape or portrait card. This time I decided to have the box on the side. I have used a Crumb Cake card-stock base and used the card-base in the kit to create the top fold section and to decorate the base.


The front panel from the kit included a pre-cut hole so another hole, a bit smaller was punched out of the panel underneath. The picture below shows the card folds a little more.


As I wanted to add some scenic features behind the cute little dog. The friend who will be receiving this card is a fellow dog lover and we often walk together through linear parks surrounded by natural beauty, so it was important to include some trees and bushes etc. They were die cut from Basic White card-stock using some of the Scenic Adventure dies, then coloured with Old Olive & a little Calypso Coral ink.


Here is a close up of the central section.


I added a Basic White panel to the back of the card. and stamped the dog paws in Old Olive. The sentiment on the back is from the Scenic Adventure stamps.


A little bit of left over paper was added to the base. The top sections of the folds used the flap of the envelope. A piece of the envelope was added to the envelope below.


Thank you very much for calling by on your around the CASEing the Catty Blog Hop. I so appreciate it.


Don’t miss any of the inspiration from this creative Crew. The next blog in the hop is by the lovely Peta Stephen. Just click on the "next" graphic below to be taken to her blog. I wonder which project she has CASEd - I am sure her project will be something special.


Join In The Challenge: We would love you to share a project you have created for this Challenge that has been inspired by the 2025 Saleabration Brochure. To share, all you need to do is go to the CASEing The Catty Challenge Group on Facebook. If you aren't a member, it’s easy to request to join and then all you need to do is upload a photo of your project to the main section. You can click on the graphic below to be taken to the group on Facebook. We would love to see your creation.


#ctc529 #stampinup #stampinupaustralia #stampinupsouthpacific #stampinupdemo  #handmadecards #makeacardsendacard #stampinupdemonstrator #papercrafting #papercrafter  #valleyinspirations  #scenicadventures  #byyourside  #caseingthecatty #artisandesignteam2025  #artisandesignteam


Wednesday, 25 June 2025

Be Inspired Blog Hop - Techniques or Top Tips

 Be Inspired Design Team Blog Hop - Sharing Techniques or Top Tips

Hello, welcome to Valley Inspirations with Andrea. I am so excited to have been asked to join the Be Inspired Design Team. I am in awe of everyone in the team - they are so talented. This is my first blog hop with the team so I do appreciate you dropping in.


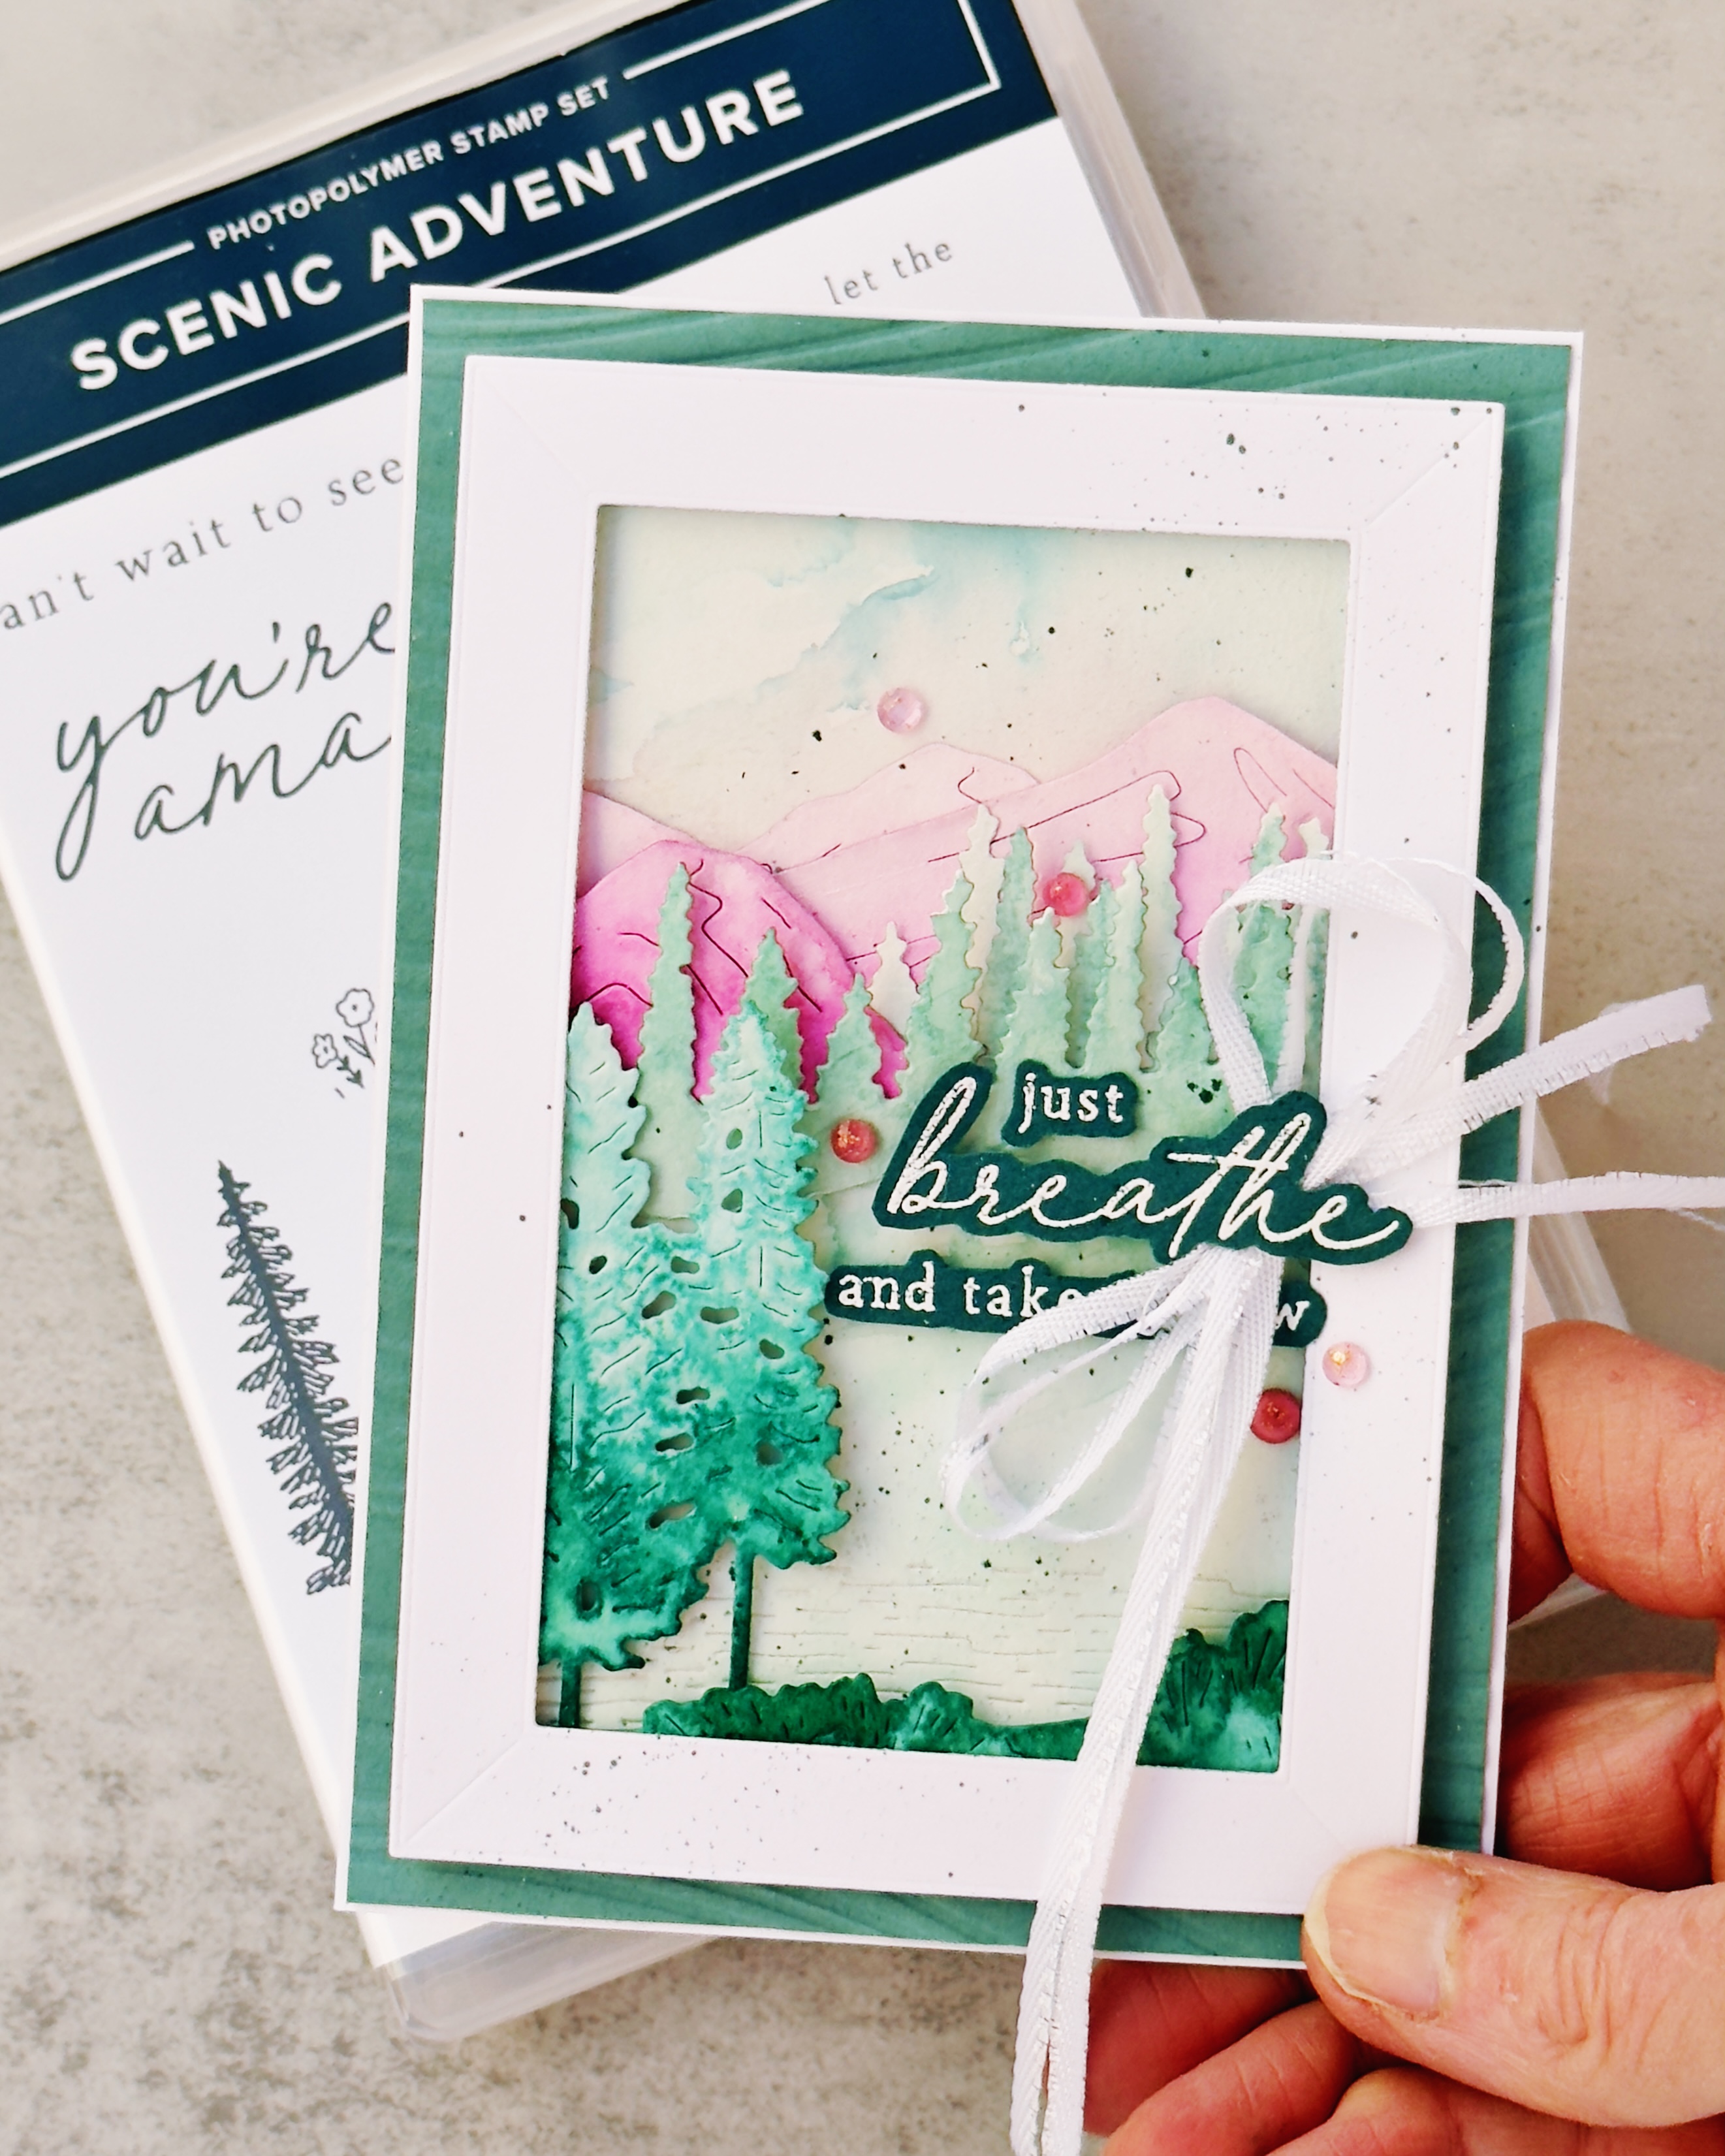
The technique I am sharing this month via my project is wet-on-wet water-colouring. I was a bit tentative selecting this technique as I know others on the team who are brilliant water-colorers. However, I do love water-colouring so decided on to go with something I love.


I also adore Stampin’ Up! Scenic Adventure bundle. The dies are amazing with extra details within the die cuts. Numerous die cuts were prepared in watercolor paper. Stampin’ Up! uses Fluid 100 Watercolor Paper which is a really good paper. A background panel was also cut from water-colour paper. 

The background was wet on wet water-coloured using the larger flat Water Painter. Each colour was painted separately. Where I wanted some melding of colours, the next colour was added while the previous colour was still wet. Balmy Blue Classic ink was used for the sky, with touches of diluted Pretty In Pink to glow around the mountains. The mountains were coloured with Fresh Freesia & Petunia Pop. The colours were more diluted for the mountains at the back to give a sense of depth. The smaller background trees were coloured in different strengths of Lost Lagoon. The larger trees at the left were coloured with Pretty Peacock & touches of Lost Lagoon. The bushes  in the foreground were just Pretty Peacock coloured. The foreground is a mixture of Pool Party and Lost Lagoon - both diluted.


The scene was framed in Basic White card-stock using the wonderful frame die from the Gallery Blooms dies. The background beneath the scene is a panel of Lost Lagoon card-stock, embossed with the Soft Waves 3D Embossing Folder and then adhered to a Basic White card-base.


A sentiment from the Scenic Adventure stamp set was white heat embossed onto a piece of Pretty Peacock card-stock and then fussy cut. A bow was created from the White 1/4” Starter Ribbon Pack that had been cut in half lengthwise. To bring the pinky purple colour further down the design some Strawberry Slush & Pretty in Pink Gems were scattered around the sentiment.


For those who know me, know I like to add a touch of decoration to the inside panel to link it in some way to the card front design. A little coordinating stamping was added in Lost Lagoon ink - just very simple. A little blending was added near the stamping as well.


I also like to simply decorate the envelope. The same stamping and blending was added to a C6 Basic White Envelope.


Thank you so much for spending time with me. I hope you have found something to inspire.


I am looking forward to checking out the projects created by everyone in the June Be Inspired Blog Hop. Next in line is the amazing Maheswari Rajaguru. Just click on the graphic below to head over to Maheswari’s blog, My Stamp Garden.


The full list of those participating in this hop is:
Andrea Sargent  <you are here 


#beinspired  #beinspireddesignteam  #stampinup   #stampinupofficial  #stampinupaustralia #valleyinspirations  #artisandesignteam #artisandesignteam2025  #scenicadventure. #stampinupofficial

AWH Heart of Christmas - #10

Christmas with Noel Greetings Hello. Welcome to  Valley Inspirations with Andrea  and the tenth  Art with Heart Team Heart of Christmas Blog...