Art with Heart Wow Tutorials

Wednesday, 9 December 2020

Art with Heart Colour Creations Showcase - #28 Misty Moonlight

Misty Moonlight with Snowflake Wishes

Hello. Welcome to Valley Inspirations with Andrea and the 28th 2020 Colour Creations Showcase by members of the Art with Heart Team - our second to last one for the year.


This week we are focussing on a gorgeous blue called Misty Moonlight. It is one of the 2020-2021 In Colours and is a softer muted blue. Misty Moonlight can be found in Stampin' Up!s card-stock, both A4 & 12"x12"Classic Stampin' inks (ink pads, re-inkers); Stampin' Write Markers; Stampin' Blends; numerous Designer Series Papers, including Flowers for Every Season DSP, Memories & More Cards pack, Cards & Envelopes packs, the Boho Indigo Product Medley, In Colour ribbon & Enamel Dots + much more. It is a delightful colour!


I had a couple of design ideas but as I was driving home after an appointment a couple of days ago I saw a banner out of the corner of my eye that inspired the card for tonight's Colour Creations Showcase. Having said that, if you were to look at the card near the banner, you may not recognise the inspiration I saw as the design evolved further during the development of the card. I also created a second card for this Showcase but have decided to use it for tomorrow's blog hop as time is running out and I suspect that I won't have an opportunity to work up the 2 designs that are floating in my brain. Do check back tomorrow to see a different Misty Moonlight inspired card.

Misty Moonlight Snowflake Wishes Stampin' Up! card, Andrea Sargent, Independent Stampin' Up! Demonstrator, Valley Inspirations, Adelaide foothills, Australia

I still need some more Christmas cards - how about you? This card is simple and I plan to create a few more using differing colour combinations.


First, a piece of Shimmery White card-stock was heat embossed, stamping the two small snowflake flurries from the Snowflake Wishes stamp set with Versamark and embossed with White Stampin' Emboss powder. 


Using Sponge Brayers, Misty Moonlight, Seaside Spray and Soft Sea Foam Classic Stampin' ink was applied with each colour overlapping the adjacent colour. After adding the colour, there were some spaces without snowflakes so I stamped and heat embossed some of the small flurries over the brayered card front. These snowflakes aren't as crisp and white as those applied before adding the colour. It was a good experiment to see the difference.


The card front was mounted on Whisper White card-stock leaving a thin boarder and then mounted onto the Misty Moonlight card base. A sentiment from the same stamp set was white heat embossed on Misty Moonlight card-stock and then mounted with a thin boarder of Whisper White card-stock. The sentiment was popped up on Dimensionals in the centre of the card front. Snowflakes from the So Many Snowflake dies were cut from Whisper White card-stock and 3 snowflakes were added to the card with some gorgeous Blue Adhesive-backed Gems in the centre of the white die cut snowflakes. I was delighted to see that the Snowflake Wishes stamp set, So Many Snowflakes dies and the Blue Adhesive Backed Gems are all carrying over. They all are a joy to create with and provide so much inspiration.


I was a bit carried away with the snowflake flurries stamped in Seaside Spray and Misty Moonlight Classic Stampin' ink on the Whisper White card inner - but that won't stop me writing my personalised greetings. The snow flurries were also stamped on the flap of a C6 Whisper White envelope.


Do come back tomorrow to see my other Misty Moonlight summery creation.

Catherine Proctor is our wonderful host of the Art with Heart Colour Creations Showcase. If you haven't finished visiting all of the team's colour creations, you can visit/revisit Catherine's page at What Cathy Made, where she hosts all the links to the other Showcase participants. Thank you so much Cathy for coordinating this Colour Creations Showcase this year - you are a Champion. I'm looking forward to checking out everyone's Misty Moonlight creations. It is always inspiring to see the amazing projects created by my colleagues.

I hope to see you again next week when members of the team will share projects that hero Mossy Meadow. This is another fantastic colour.

I hope all your Christmas preparations are going well. Do look after yourself and your loved ones. Stay well, stay safe and be kind to yourself and others in these strange times. 

Andrea 💕🐾


Wednesday, 2 December 2020

Art with Heart Colour Creations Showcase - #27 Mint Macaron

Mint Macaron with Stitched Leaves and Gilded Autumn

Hello. Welcome to Valley Inspirations with Andrea and the 27th 2020 Colour Creations Showcase by members of the Art with Heart Team.


This week we are focussing on a beautiful green called Mint Macaron. It is part of the Subtle colour family - a softer green, though not really pale. Mint Macaron was introduced as an In Colour many years ago and was really popular, then during a Stampin' Up! colour refresh, it returned as one of the Subtles. It can be found in Stampin' Up!s card-stockClassic Stampin' inks (ink pads, re-inkers); Stampin' Write Markers; Stampin' Blends; numerous Designer Series Papers, packs and ribbon, incl Gilded Autumn Speciality Designer Series Paper which I have used in this card.


I saw a fancy fold again recently that I have been wanting to try for quite a while and then watched a Facebook Live by Emma Goddard, one of Stampin' Up!s current Artisans, where she created two Tri-Fold Shutter cards. Deciding to "strike while the iron was hot" this Colour Creation's project is a Tri-Fold Shutter card. Thanks Emma for the inspiration. The other early decision I made was to use one of the Mint Macaron designs in the oh so gorgeous Gilded Autumn Speciality DSP. They are delicious papers with metallic highlights.

Mint Macaron Love of Leaves Stampin Up Tri-fold Shutter card, Andrea Sargent, Valley Inspirations, Adelaide Foothills, Australia

Mint Macaron card-stock was used as the base. I used a half A4 sheet, cut to 15cm x 29.8cm. This base was scored on the short side at 5cm and 10cm, that is dividing it into three 5cm sections. Turning the rectangle of card-stock to the 29.8cm side, it was scored at 5cm, 10cm, 19.8cm and 24.8cm. Turning back to the short side the cutting blade was placed over the scored lines, but cutting started at the 5cm position, which is where the first scores on each side intersect, and finishing at the 24.8cm point. This cut was repeated on the other parallel score line. Burnishing with a bone folder was really important.

Mint Macaron Love of Leaves Stampin Up Tri-fold Shutter card, Andrea Sargent, Valley Inspirations, Adelaide Foothills, Australia

The Brass Metallic sheets and the metallic leaf SDSP were cut into pieces to decorate each panel, with the Brass pieces being used as the mount. The only exception was a Very Vanilla card-stock rectangle that was swapped for the central panel. The SDSP pieces and the Very Vanilla rectangle were adhered directly to the metallic card-stock; which in turn were adhered directly to the base panels. I had intended to dry emboss the Very Vanilla panel but had already glued it in place before remembering, so cut a piece of Vellum and dry embossed it with one of the Meadow Moments embossing folders.

Mint Macaron Love of Leaves Stampin Up Tri-fold Shutter card, Andrea Sargent, Valley Inspirations, Adelaide Foothills, Australia

Decorating the panels would have been such fun - but I couldn't make up my mind!?!? I started by punching and fussy cutting many leaves from other designs of the Gilded Autumn SDSP. You should see my crafting station - there are small metallic, DSP and coloured leaves everywhere!!! But then decided I wasn't keen on the concept I had in mind. Okay - what to do ... I remembered the Love of Leaves bundle that I had recently purchased. (I had really loved this bundle but already had leaf stamp sets - so resisted. Then I noticed that this bundle was carrying over to 2021 - my resistance evaporated. And I am so glad it did. I cut and embossed the leaves in both Brass Foil and Vellum card-stock. I also stamped and die cut numerous leaves. These leaves were amazing too!

Mint Macaron Love of Leaves Stampin Up Tri-fold Shutter card, Andrea Sargent, Valley Inspirations, Adelaide Foothills, Australia

Playing with the arrangement of leaves, I decided to just use the Brass Foil and Vellum leaves. Each leaf was shaped a little with my fingers and a Bone Folder to add some character and dimension. A mix of Multipurpose Liquid Glue and Mini Dimensionals was used to position the leaves in place. A sentiment from the Beautiful Autumn stamp set was stamped in Pretty Peacock Classic ink onto Very Vanilla card-stock. It was trimmed and popped up with Dimensionals.

Mint Macaron Love of Leaves Stampin Up Tri-fold Shutter card, Andrea Sargent, Valley Inspirations, Adelaide Foothills, Australia

I tried a range of ribbons, trims, embellishments etc and eventually decided to use the Gold Twine from the Forever Greenery Trim Combo pack and one of the delightful Acorn Trinkets. I haven't been well and my creative mojo seemed to have dissipated so I really appreciate being inspired by Emma and having such gorgeous Stampin' Up! products to work with. I hope you like the end result.

Mint Macaron Love of Leaves Stampin Up Tri-fold Shutter card, Andrea Sargent, Valley Inspirations, Adelaide Foothills, Australia

As the central panel was decorated including being covered with embossed Vellum, a few pieces of Very Vanilla card-stock were adhered to a few of the panels on the back of the card. Leaves that had been stamped in Soft Sea Foam were added. These stamped leaves are gorgeous as the stamp set is one of Stampin' Up!s distinctive stamps - I love the variegated painterly effect. A couple of the leaves were also stamped on the envelope (I had intended to use a C6 Very Vanilla envelope, but grabbed a Whisper White envelope instead. I didn't notice till I was photographing the project. Oops.)

Mint Macaron Love of Leaves Stampin Up Tri-fold Shutter card, Andrea Sargent, Valley Inspirations, Adelaide Foothills, Australia

Thank you for visiting my blog and sharing in some Mint Macaron creativity. Please don't hesitate to contact me if you have any queries, would like me to send you a Stampin' Up! catalogue or if I can help you with any products.

Mint Macaron Love of Leaves Stampin Up Tri-fold Shutter card, Andrea Sargent, Valley Inspirations, Adelaide Foothills, Australia

Catherine Proctor is our wonderful host of the Art with Heart Colour Creations Showcase. If you haven't finished visiting all of the team's colour creations, you can visit/revisit Catherine's page at What Cathy Made, where she hosts all the links to the other Showcase participants. I'm looking forward to checking out everyone's Mint Macaron creations. It is always inspiring to see the amazing projects created by my colleagues and their application of the colour.

I hope to see you again next week when members of the team will share projects that hero Misty Moonlight. This is another beautiful colour.

Do look after yourself and your loved ones. Stay well, stay safe and be kind to yourself and others in these strange times. 

Andrea 💕🐾


Saturday, 28 November 2020

Social Stamping - #19 Merry & Bright

Merry & Bright with In the Pines

Hello. Welcome to Valley Inspirations with Andrea and the 19th and final for 2020 Social Stamping Blog Host. Thank you so much Kelly for instigating and coordinating the Social Stamping Blog Hop. For me, this blog hop has certainly helped me through this very strange year of COVID-19. Sharing paper crafting is such a delight.


This month's Social Stamping theme is Merry & Bright, which I have interpreted as a happy Christmas theme. When thinking about what I would make, I decided to create a card based on a ATC I created earlier in the year - that's right, it was only last month. What is an ATC you ask? The letters stand for Artistic Trading Cards. They are similar to Sporting Trading Cards. I am part of the Art with Heart team and for many years a number of us have been creating ATCs based around a technique or theme to share with others in the share. It has been a brilliant way to learn new techniques and challenge myself to design within  2.5" x 3.5". Here is the ATC I created for the Plaid challenge last month, where we needed to create our own plaid/tartan with watercolour. 

Christmas In the Pines Plaid Stampin' Up! card, Andrea Sargent, Valley Inspirations, Adelaide Foothills, Australia

I have been intending to create full size cards based on my ATCs, but haven't created many, so decided to try with this design. Here is my Christmas card for you in this final 2020 Social Stamping Blog Hop:

Christmas In the Pines Plaid Stampin' Up! card, Andrea Sargent, Valley Inspirations, Adelaide Foothills, Australia

The first task in creating this card was to create a plaid. I used Shimmery White card-stock cut a little bigger than the strip I needed so I could trim it down if the edges were a bit mucky. I painted a stripe every 3/4" in watered down Rococo Rose Classic Stampin' ink using the mid size Water Painter. Then I painted a stripe in Petal Pink Classic Stampin' ink next to the Rococo Rose stripe, leaving an un-inked white stripe. The card-stock piece was turned 90 degrees and the same painting process was carried out. 

Christmas In the Pines Plaid Stampin' Up! card, Andrea Sargent, Valley Inspirations, Adelaide Foothills, Australia

Once dry, Rococo Rose and Petal Pink Stampin' Write markers were used to draw a thin stripe on the edge of the same colour stripe using the thicker nib. Then using the thinest tip of the Rococo Rose marker two thin stripes were drawn near the thicker Rococo Rose stripe. All the stripes were drawn and then the card-stock was again turned 90 degrees and the same stripes were drawn at 90 degrees to the first stripes. As you can see, the plaid is not perfect like a woven tartan or printed design. That's fine - ! love the relaxed water-colour bleeding of colours. 

Christmas In the Pines Plaid Stampin' Up! card, Andrea Sargent, Valley Inspirations, Adelaide Foothills, Australia

The background is a piece of Petal Pink card-stock that was embossed with the Evergreen Forrest 3D embossing folder. Some White Craft ink was lightly dragged over the embossed trees with a Sponge Dauber to delicately highlight the trees in the background. To add some "stars" to the sky, Frost White Shimmer Paint was splattered using the Water Painter. This background was adhered directly to the Rococo Rose card-stock base.

Christmas In the Pines Plaid Stampin' Up! card, Andrea Sargent, Valley Inspirations, Adelaide Foothills, Australia

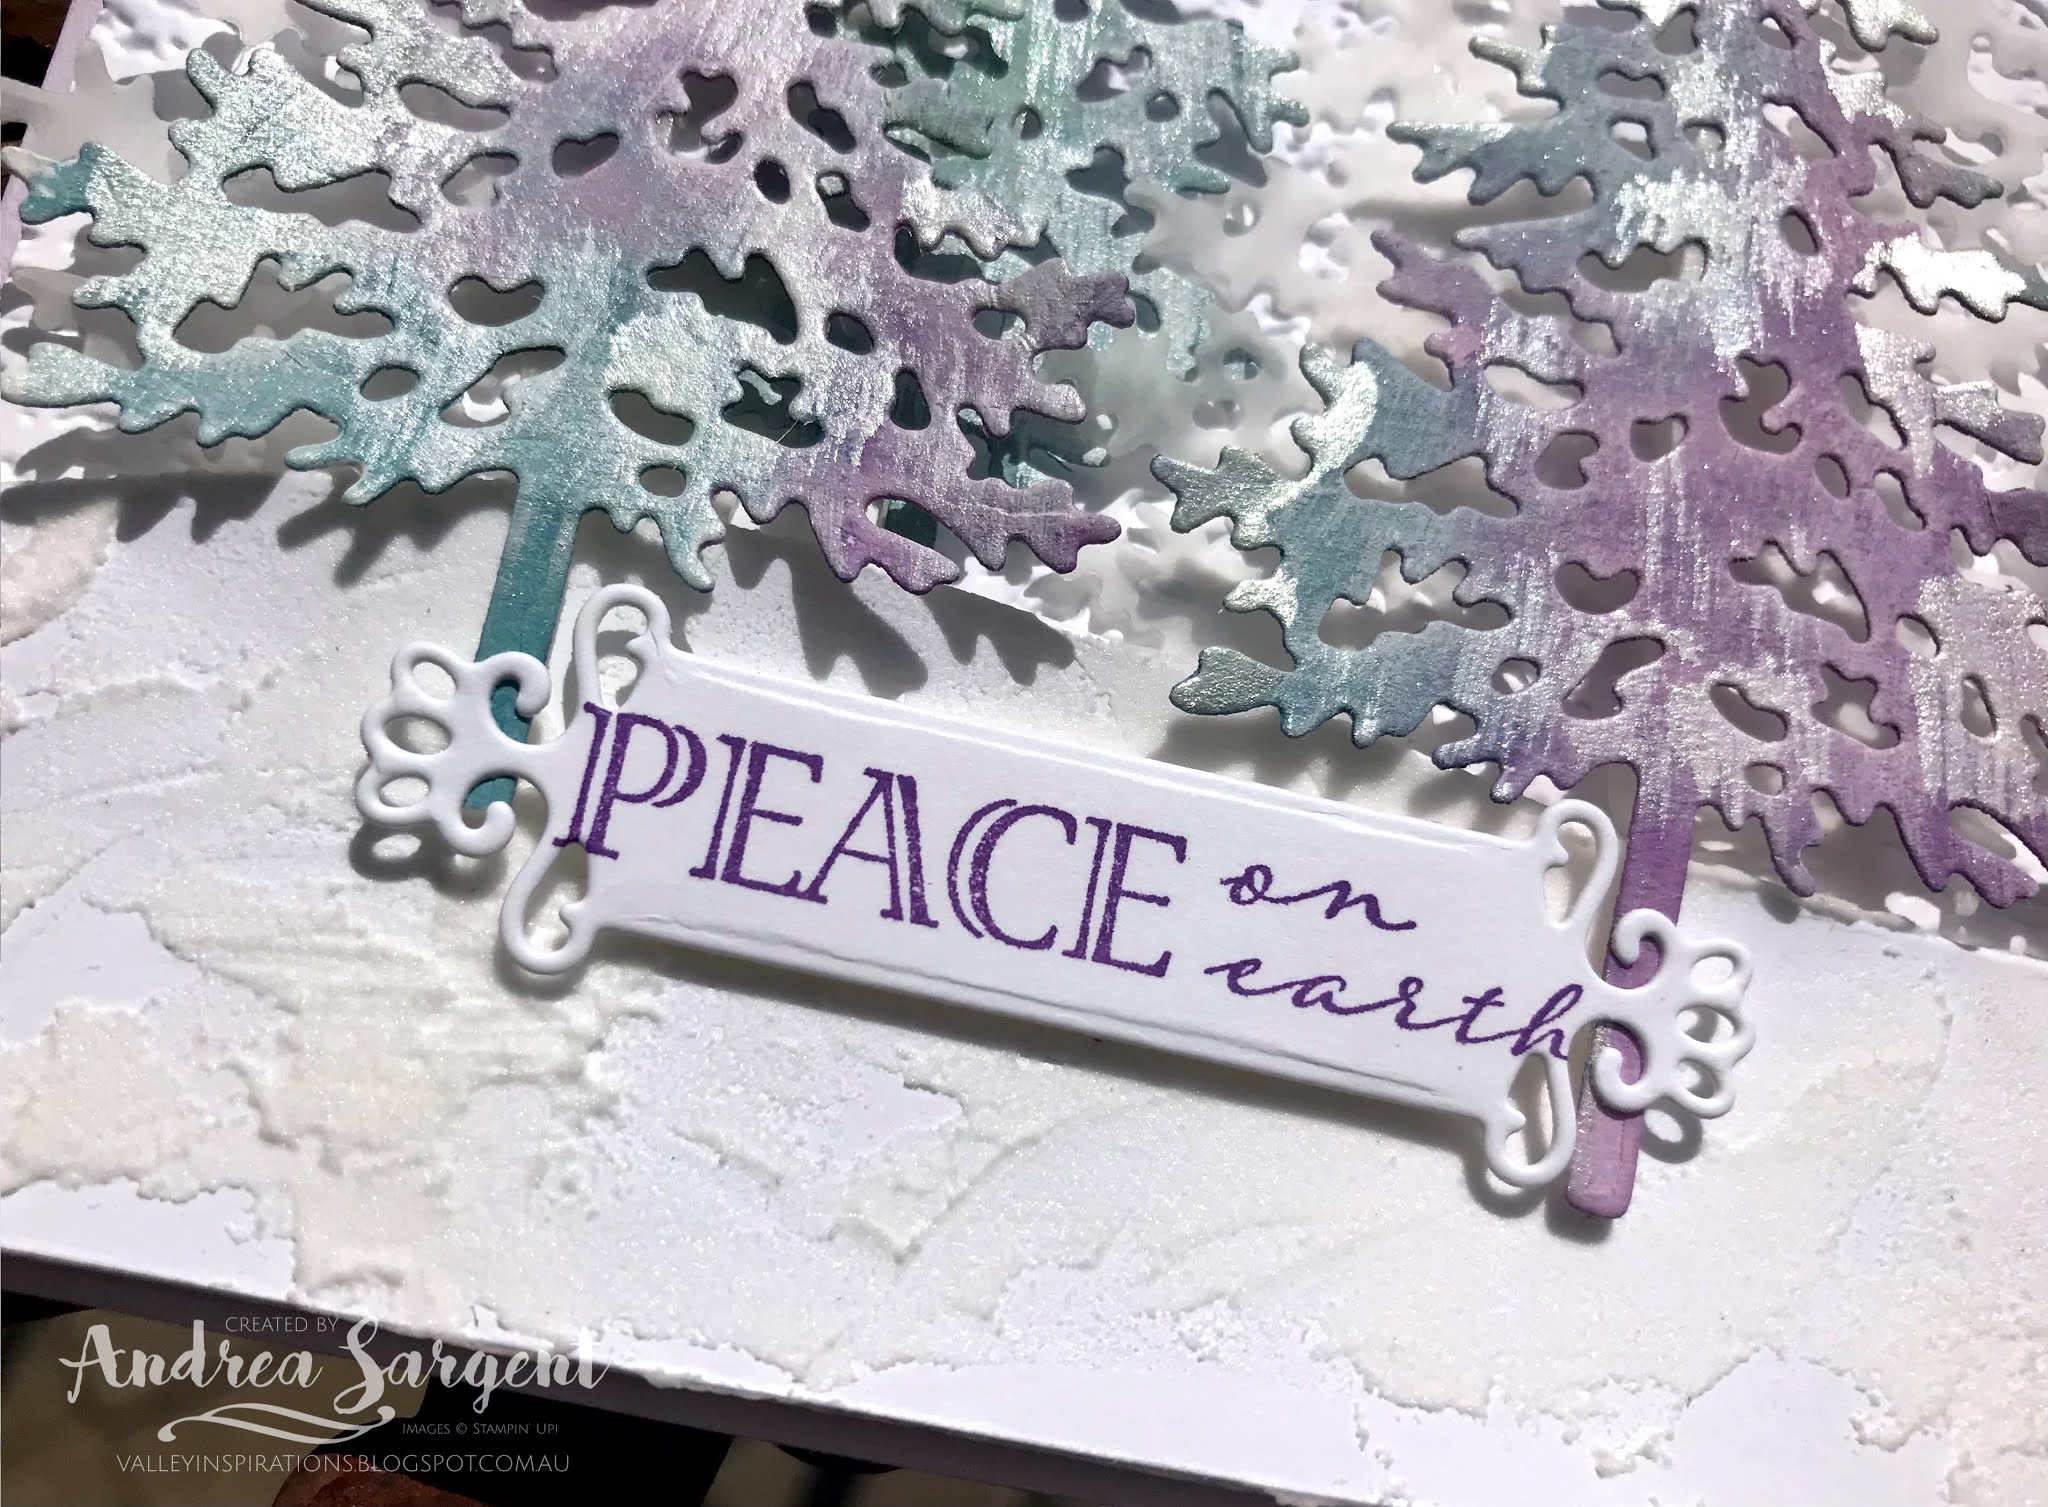
The plaid piece was positioned with Dimensionals. Three trees were die cut with the Pine Woods dies from Shimmery White card-stock. I little of the Frost White Shimmer Paint was painted on the trees, reminiscent of snow on the tips of the branches, to add a little shimmer. I so love the In the Pines bundle, as you may have guessed if you follow by blog.

Christmas In the Pines Plaid Stampin' Up! card, Andrea Sargent, Valley Inspirations, Adelaide Foothills, Australia

A circle of Vellum, cut with the Layered Circle dies, was adhered to one side over the plaid. The two smaller trees were partially tucked under the Vellum circle and adhered directly to the plaid. The larger tree was placed over the Vellum circle with Mini Dimensionals. A sentiment from the coordinating In the Pines stamp set was stamped in Versamark on Rococo Rose card-stock and heat embossed with White Emboss Powder. The sentiment was fussy cut and positioned with both Multipurpose Liquid Glue and Mini Dimensionals. Snowflake Adhesive-backed Embellishments were added as the finishing touch. They are so pretty.

Christmas In the Pines Plaid Stampin' Up! card, Andrea Sargent, Valley Inspirations, Adelaide Foothills, Australia

A piece of Whisper White card-stock was stamped a couple of times with the group of little trees from the In the Pines stamp set using Petal Pink and Rococo Rose Classic Stampin' inks. The stamp was inked in Petal Pink and then bits of the stamp were daubed with Rococo Rose and then stamped. A thin strip of the plaid was also adhered to the bottom of the card inner. A C6 Whisper White envelope was similarly stamped with the little trees across the bottom front of the envelope.

Christmas In the Pines Plaid Stampin' Up! card, Andrea Sargent, Valley Inspirations, Adelaide Foothills, Australia

I hope you are enjoying this month's Social Stamping Blog Hop which has focused on the "Merry & Bright" theme. If you started at the beginning with our amazing Social Stamping Host, Kelly Kent, then the next in line is the lovely Sandra Collet at Sanzstamps. Use this link to see her gorgeous creation or click on the 'Next' graphic below. If you would prefer to go to the full list of participants click on this link to be taken to Kelly Kent's Host Blog Post at My Papercraft Journey where you will find all the individual links that can take you to each person's blog.

I hope to see you again next year - let's hope it is a better year for us all. I'm not sure whether the Social Stamping Blog Host will continue - keep an eye on Kelly Kent's blog.

Do look after yourself and your loved ones. I hope you enjoy an amazing Christmas and New Year. Stay well, stay safe and be kind to yourself and others in these strange times. 

Andrea 😘


Monday, 16 November 2020

Heart of Christmas - November 2020

Art With Heart Team Heart of Christmas 2020 with In the Pines

Hello. Welcome to Valley Inspirations with Andrea and the final Heart of Christmas Showcase for 2020. It's hard to believe that Christmas will be here next month.
While I have needed to take a break from blogging for a few weeks due to health and other  demands, I couldn't resist participating in this last 2020 Heart of Christmas Showcase

Highland Heather In the Pines Stampin Up card, Andrea Sargent, Valley Inspirations, Independent Stampin' Up Demonstrator, Adelaide Foothills, Australia

The two cards that I am sharing had their genesis in the Highland Heather Colour Creations Showcase. I needed to pull out of that Showcase but had already started some creating, including the water-coloured background used in Project 1 and the water-coloured trees used on Project 2.

PROJECT 1:

Highland Heather In the Pines Stampin Up card, Andrea Sargent, Valley Inspirations, Independent Stampin' Up Demonstrator, Adelaide Foothills, Australia

To create the background, Fluid 100 Water-color paper was heat embossed with a sentiment from the For Unto Us stamp set, using a Versamark ink pad, White Stampin' Emboss powder and a Heat Gun. The background used the wet on wet water-colouring technique with Balmy Blue, Highland Heather and Pool Party Classic Stampin' ink

Highland Heather In the Pines Stampin Up card, Andrea Sargent, Valley Inspirations, Independent Stampin' Up Demonstrator, Adelaide Foothills, Australia

The water-colour emboss resist technique gives an amazing effect. After being left to dry naturally, the water-coloured paper was trimmed to size and then dry embossed with the oh so gorgeous Evergreen Forrest 3D Embossing folder. This background was mounted on a piece of Snowflake Splendor Designer Series Paper (DSP) and then to the Highland Heather card  base.

Highland Heather In the Pines Stampin Up card, Andrea Sargent, Valley Inspirations, Independent Stampin' Up Demonstrator, Adelaide Foothills, Australia

The white trees were die cut from Shimmery White card-stock with the Pine Woods dies and a number of trees were also cut from Vellum card-stock. The Vellum trees were adhered directly to the water-coloured backgrounded the Shimmery White trees were popped up on a thin strip of Dimensionals positioned at the centre of the tree.

Highland Heather In the Pines Stampin Up card, Andrea Sargent, Valley Inspirations, Independent Stampin' Up Demonstrator, Adelaide Foothills, Australia

A sentiment from the In the Pines stamp set was heat embossed using Versamark ink and White Stampin' Emboss powder on Highland Heather card-stock. This was fussy cut and then partially adhered to the top tree with Multi-purpose Liquid glue and Mini Dimensionals under the word 'You'.

Highland Heather In the Pines Stampin Up card, Andrea Sargent, Valley Inspirations, Independent Stampin' Up Demonstrator, Adelaide Foothills, Australia

Finishing touches were made with the addition of some Snowflake Adhesive-Backed embellishments. A piece of the Misty Moonlight/Silver twine from the Flowers for Every Season Ribbon Combo pack was coloured with a Dark Highland Heather Blend and tied around the spine of the card and tied in a bow near the top of the card.

Highland Heather In the Pines Stampin Up card, Andrea Sargent, Valley Inspirations, Independent Stampin' Up Demonstrator, Adelaide Foothills, Australia

A piece of Whisper White card-stock was stamped a couple of times with a group of little trees from the In the Pines stamp set using Balmy Blue and Highland Heather Classic Stampin' inks. Part of the stamp was inked in Balmy Blue and then the other section of the stamp was inked with Highland Heather and then stamped. A thin strip of the water-coloured paper was also adhered to the card inner. A C6 Whisper White envelope was similarly stamped across the bottom front of the envelope.

Highland Heather In the Pines Stampin Up card, Andrea Sargent, Valley Inspirations, Independent Stampin' Up Demonstrator, Adelaide Foothills, Australia


PROJECT 2:

The second card has a similar colour scheme and uses many of the same products, though the areas coloured and areas in white are reversed.

Highland Heather In the Pines Stampin Up card, Andrea Sargent, Valley Inspirations, Independent Stampin' Up Demonstrator, Adelaide Foothills, Australia

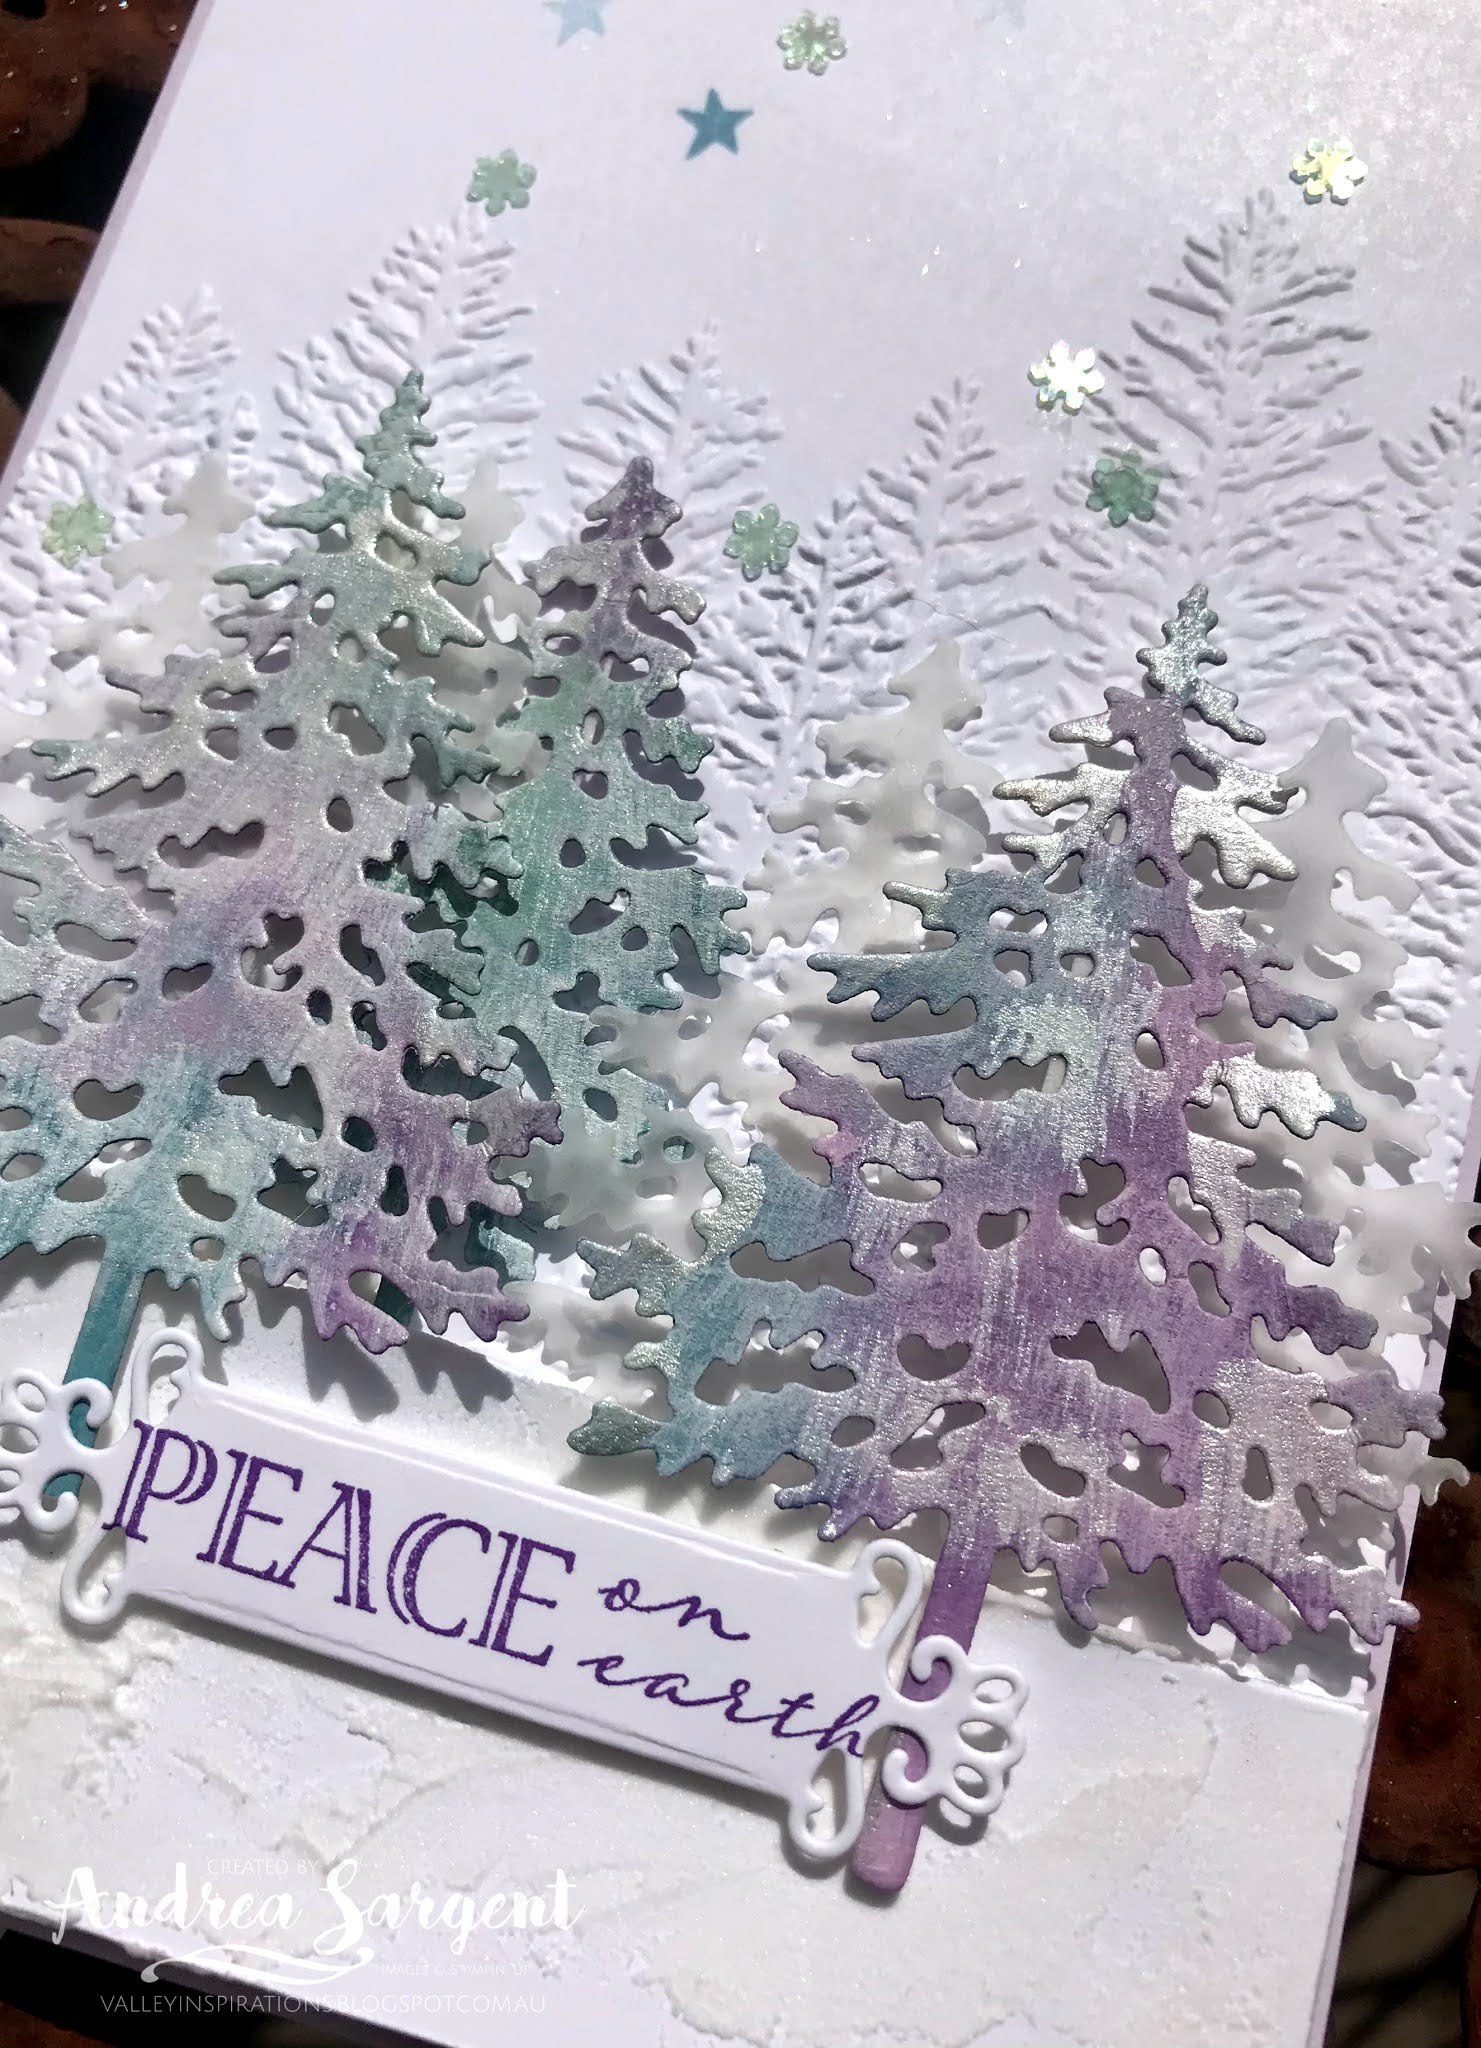
The background of the card front was created from a piece of Whisper White card-stock that was dry embossed with the Evergreen Forest 3D Embossing folder. This was adhered to a Purple Posy card base with Multi-purpose Liquid Glue. A star from the Curvy Christmas Stamp set was stamped above the trees in Balmy Blue Classic Stampin ink and stamped off twice.

Highland Heather In the Pines Stampin Up card, Andrea Sargent, Valley Inspirations, Independent Stampin' Up Demonstrator, Adelaide Foothills, Australia

To add some texture and dimension, a piece of Whisper White card-stock the same width of the card front was die cut with the simpler curvy die from the Pine Wood dies and some White Embossing Paste was smeared over to represent uneven snow texture. Once dry, this piece was popped in place at the bottom of the card front with Dimensionals.

Highland Heather In the Pines Stampin Up card, Andrea Sargent, Valley Inspirations, Independent Stampin' Up Demonstrator, Adelaide Foothills, Australia

The trees were cut from Shimmery White card-stock and water-coloured with Balmy Blue, Pool Party and Highland Heather Classic Stampin' ink. This effect was achieved by tapping the ink onto a block and lightly spritzing with some water. The wet inks were finger painted directly onto the die cut trees with a gloved hand. Finger painting the trees was such fun and let my inner child play. The trees were left to dry naturally.

Highland Heather In the Pines Stampin Up card, Andrea Sargent, Valley Inspirations, Independent Stampin' Up Demonstrator, Adelaide Foothills, Australia

Once dry the trees were lightly painted with some Frost White Shimmer Paint to add a little sparkle and a sense of snow. The coloured trees were positioned with some Vellum trees underneath. The Vellum trees were adhered to the background with Multi-purpose Liquid Glue and the water-coloured trees were popped in place with thin strips of Dimensionals.

Highland Heather In the Pines Stampin Up card, Andrea Sargent, Valley Inspirations, Independent Stampin' Up Demonstrator, Adelaide Foothills, Australia

A sentiment from the Wrapped In Christmas stamp set was stamped in Gorgeous Grape Classic Stampin' ink on Whisper White card-stock and then cut with a small die from the Ornate Frames dies. The label was positioned with Dimensionals. Some Snowflake Adhesive-backed Embellishments added the finishing touch.

Highland Heather In the Pines Stampin Up card, Andrea Sargent, Valley Inspirations, Independent Stampin' Up Demonstrator, Adelaide Foothills, Australia

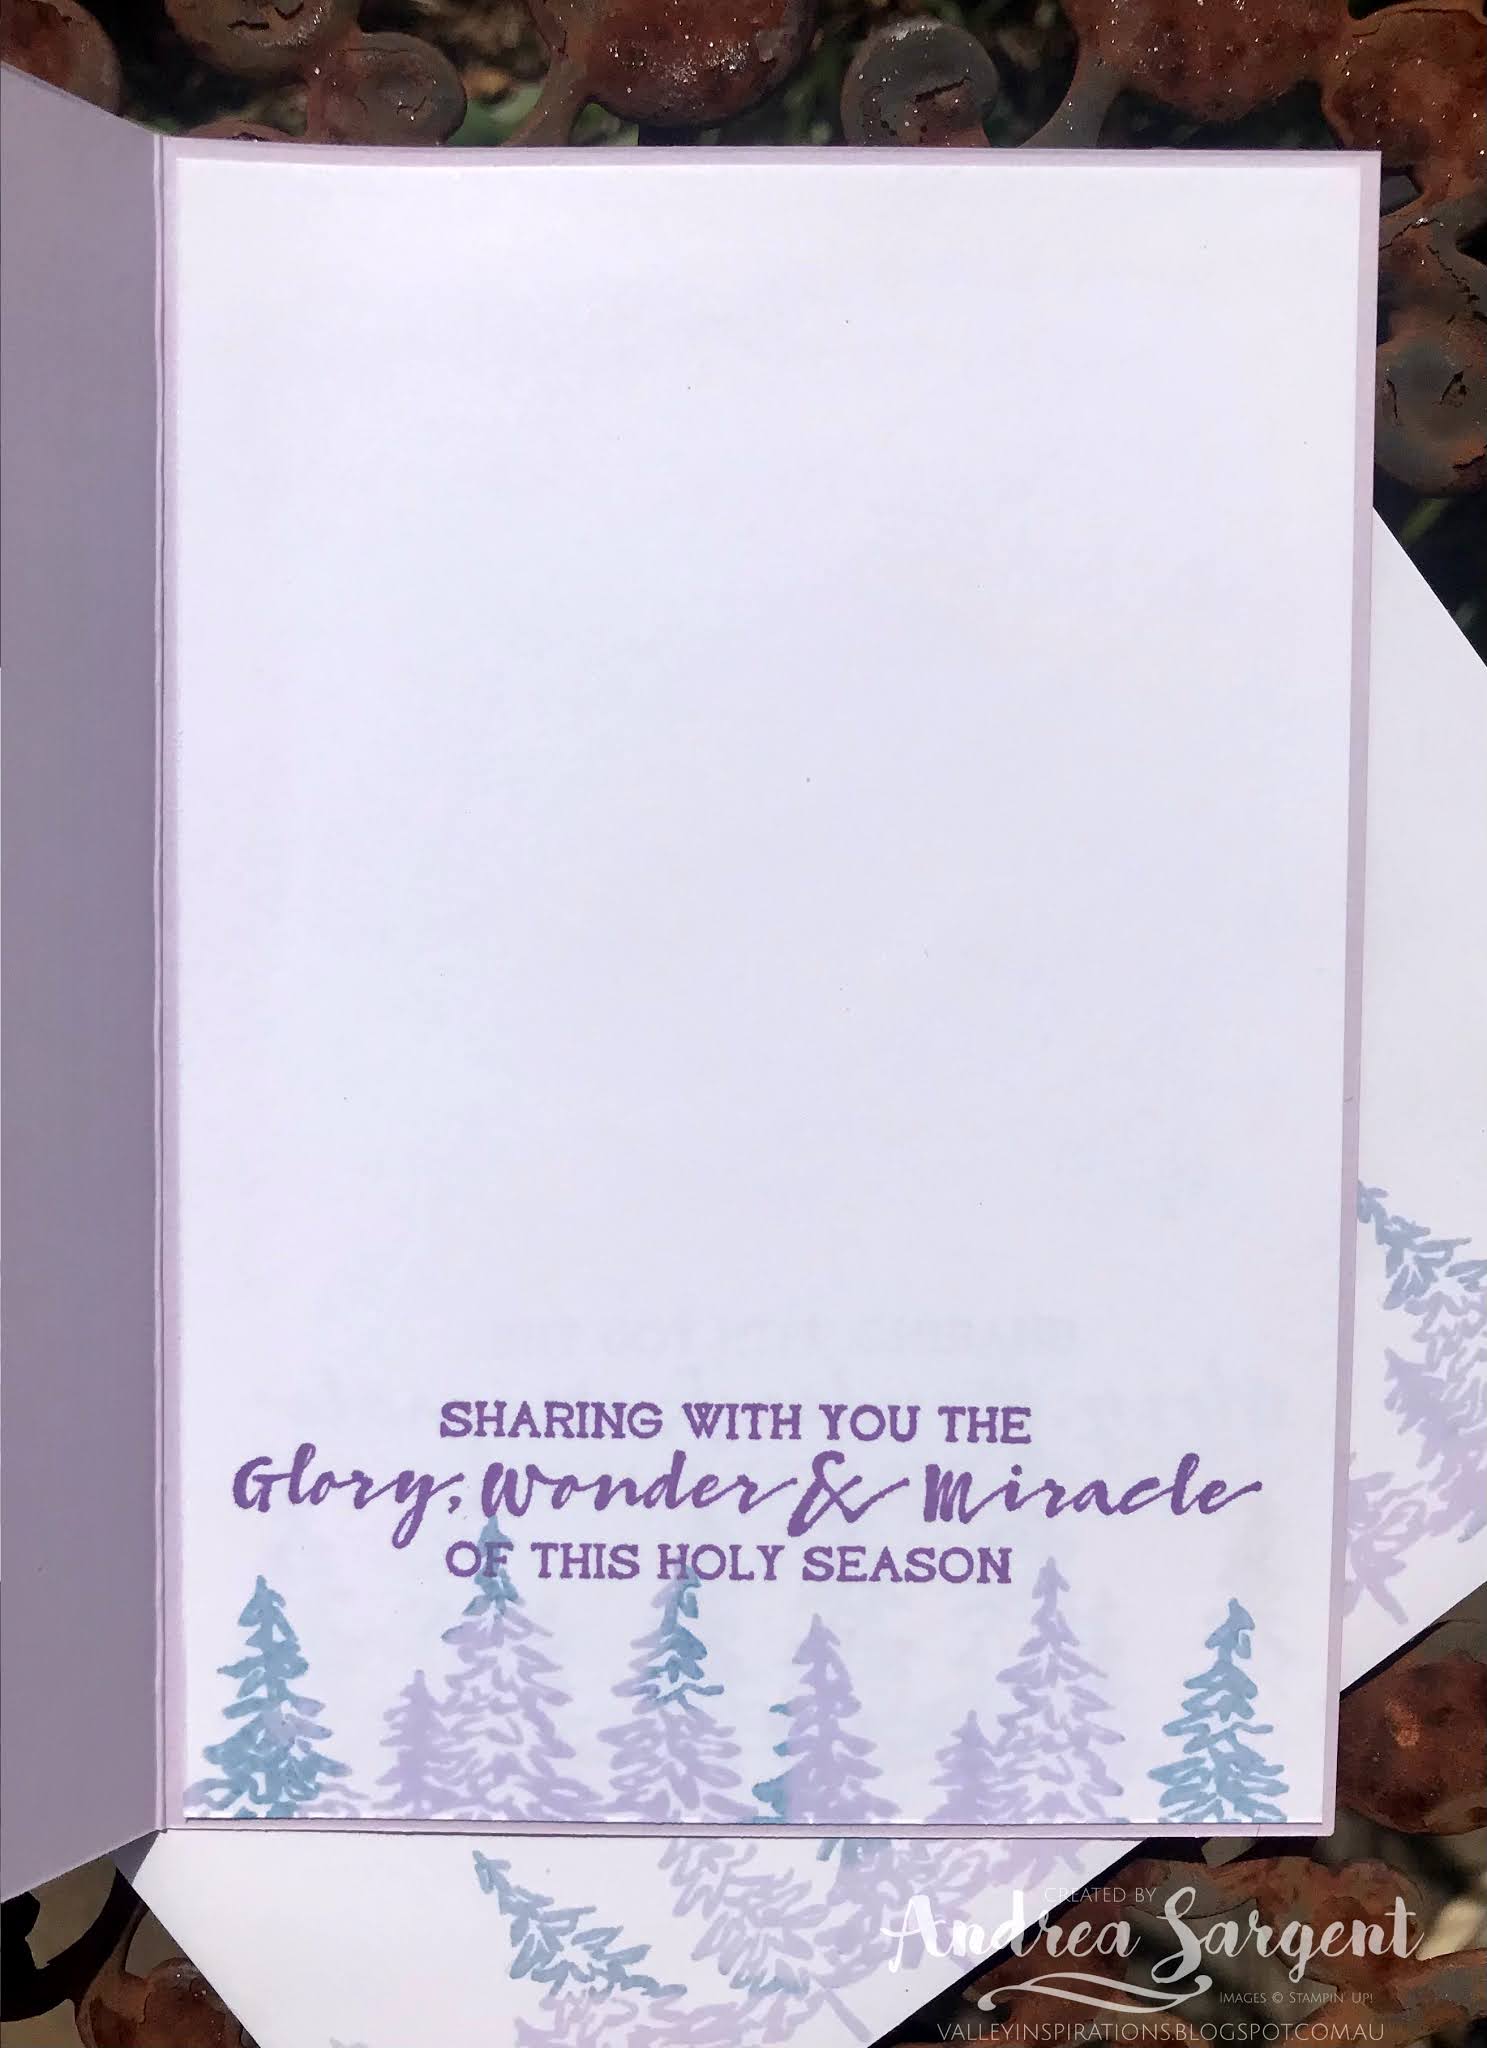
The card inner was created from a piece of Whisper White card-stock that was stamped with a sentiment from the For Unto Us stamp set in Gorgeous Grape Classic Stampin' ink. This darker shade of purple was chosen to more clearly define the sentiment. 

Highland Heather In the Pines Stampin Up card, Andrea Sargent, Valley Inspirations, Independent Stampin' Up Demonstrator, Adelaide Foothills, Australia

As with the first project, above, trees were stamped across the base of the card inner using Balmy Blue and Purple Posy Classic Stampin' ink. (As a Demonstrator, I was able to order the 2019-2021 In Colours prior to the Purple Posy ink being discontinued. This lighter shade of purple could also be achieved by stamping off Highland Heather Classic ink.) The envelope was similarly stamped with the same stamp and ink across the bottom front of a C6 Whisper White envelope.

Highland Heather In the Pines Stampin Up card, Andrea Sargent, Valley Inspirations, Independent Stampin' Up Demonstrator, Adelaide Foothills, Australia

Thank you for sharing the Heart of Christmas 2020 Showcase for November. I hope you are enjoying the blog hop and finding inspiration. We are always excited to see each others creations and always inspired by one another.

Judy May, our amazing coordinator (who does a wonderful job of keeping us in line), has all the links to the other participant's blogs for this November's Heart of Christmas 2020 Showcase. Click here to visit/revisit to Judy's blog at Just Judy Designs to find more Christmas inspiration. 

It is such a blessing to share with my talented colleagues and so I am sure there will be wonderful projects to inspire in each blog, so do drop by.  

I hope you have enjoyed the Heart of Christmas Showcase for 2020 and found inspiration over the past months. I really appreciate you dropping by and visiting Valley Inspirations.

Also, please don't hesitate to contact me if you are in Australia and would like a copy of the  Stampin' Up! 2020-2021 Annual Catalogue or the August - December 2020 Mini Catalogue; or if you have any queries that I could help with. If you are interested in buying Stampin' Up! products, I would privileged to help you. A new mini catalogue is arriving soon for January to June 2021. I have had a sneak peak and there will be gorgeous products available.

I hope you are coping in these difficult times. There are so many challenges being faced. Look after yourself and your loved ones. Stay safe, stay healthy and stay sane.

Andrea 😘

#awhtheartofchristmasshowcase

Wednesday, 4 November 2020

Art with Heart Colour Creations Showcase - #23 Magenta Madness

Magenta Madness with Forever Lovely

Hello. Welcome to Valley Inspirations with Andrea and the 23rd 2020 Colour Creations Showcase by members of the Art with Heart Team.


This week we are focussing on a gorgeous pink called Magenta Madness. Is it a bright and happy hot pink. Magenta Madness is one of the 2020-2022 In Colours and it can be found in Stampin' Up!s card-stockClassic Stampin' inks (ink pads, re-inkers & Stampin' Spots); Stampin' Write Markers; Stampin' Blends; a range of Designer Series Papers, packs, the Rainbow Shimmer Paper and embellishments, incl the In Colour ribbon and Enamel Dots. There is so much delightful product.


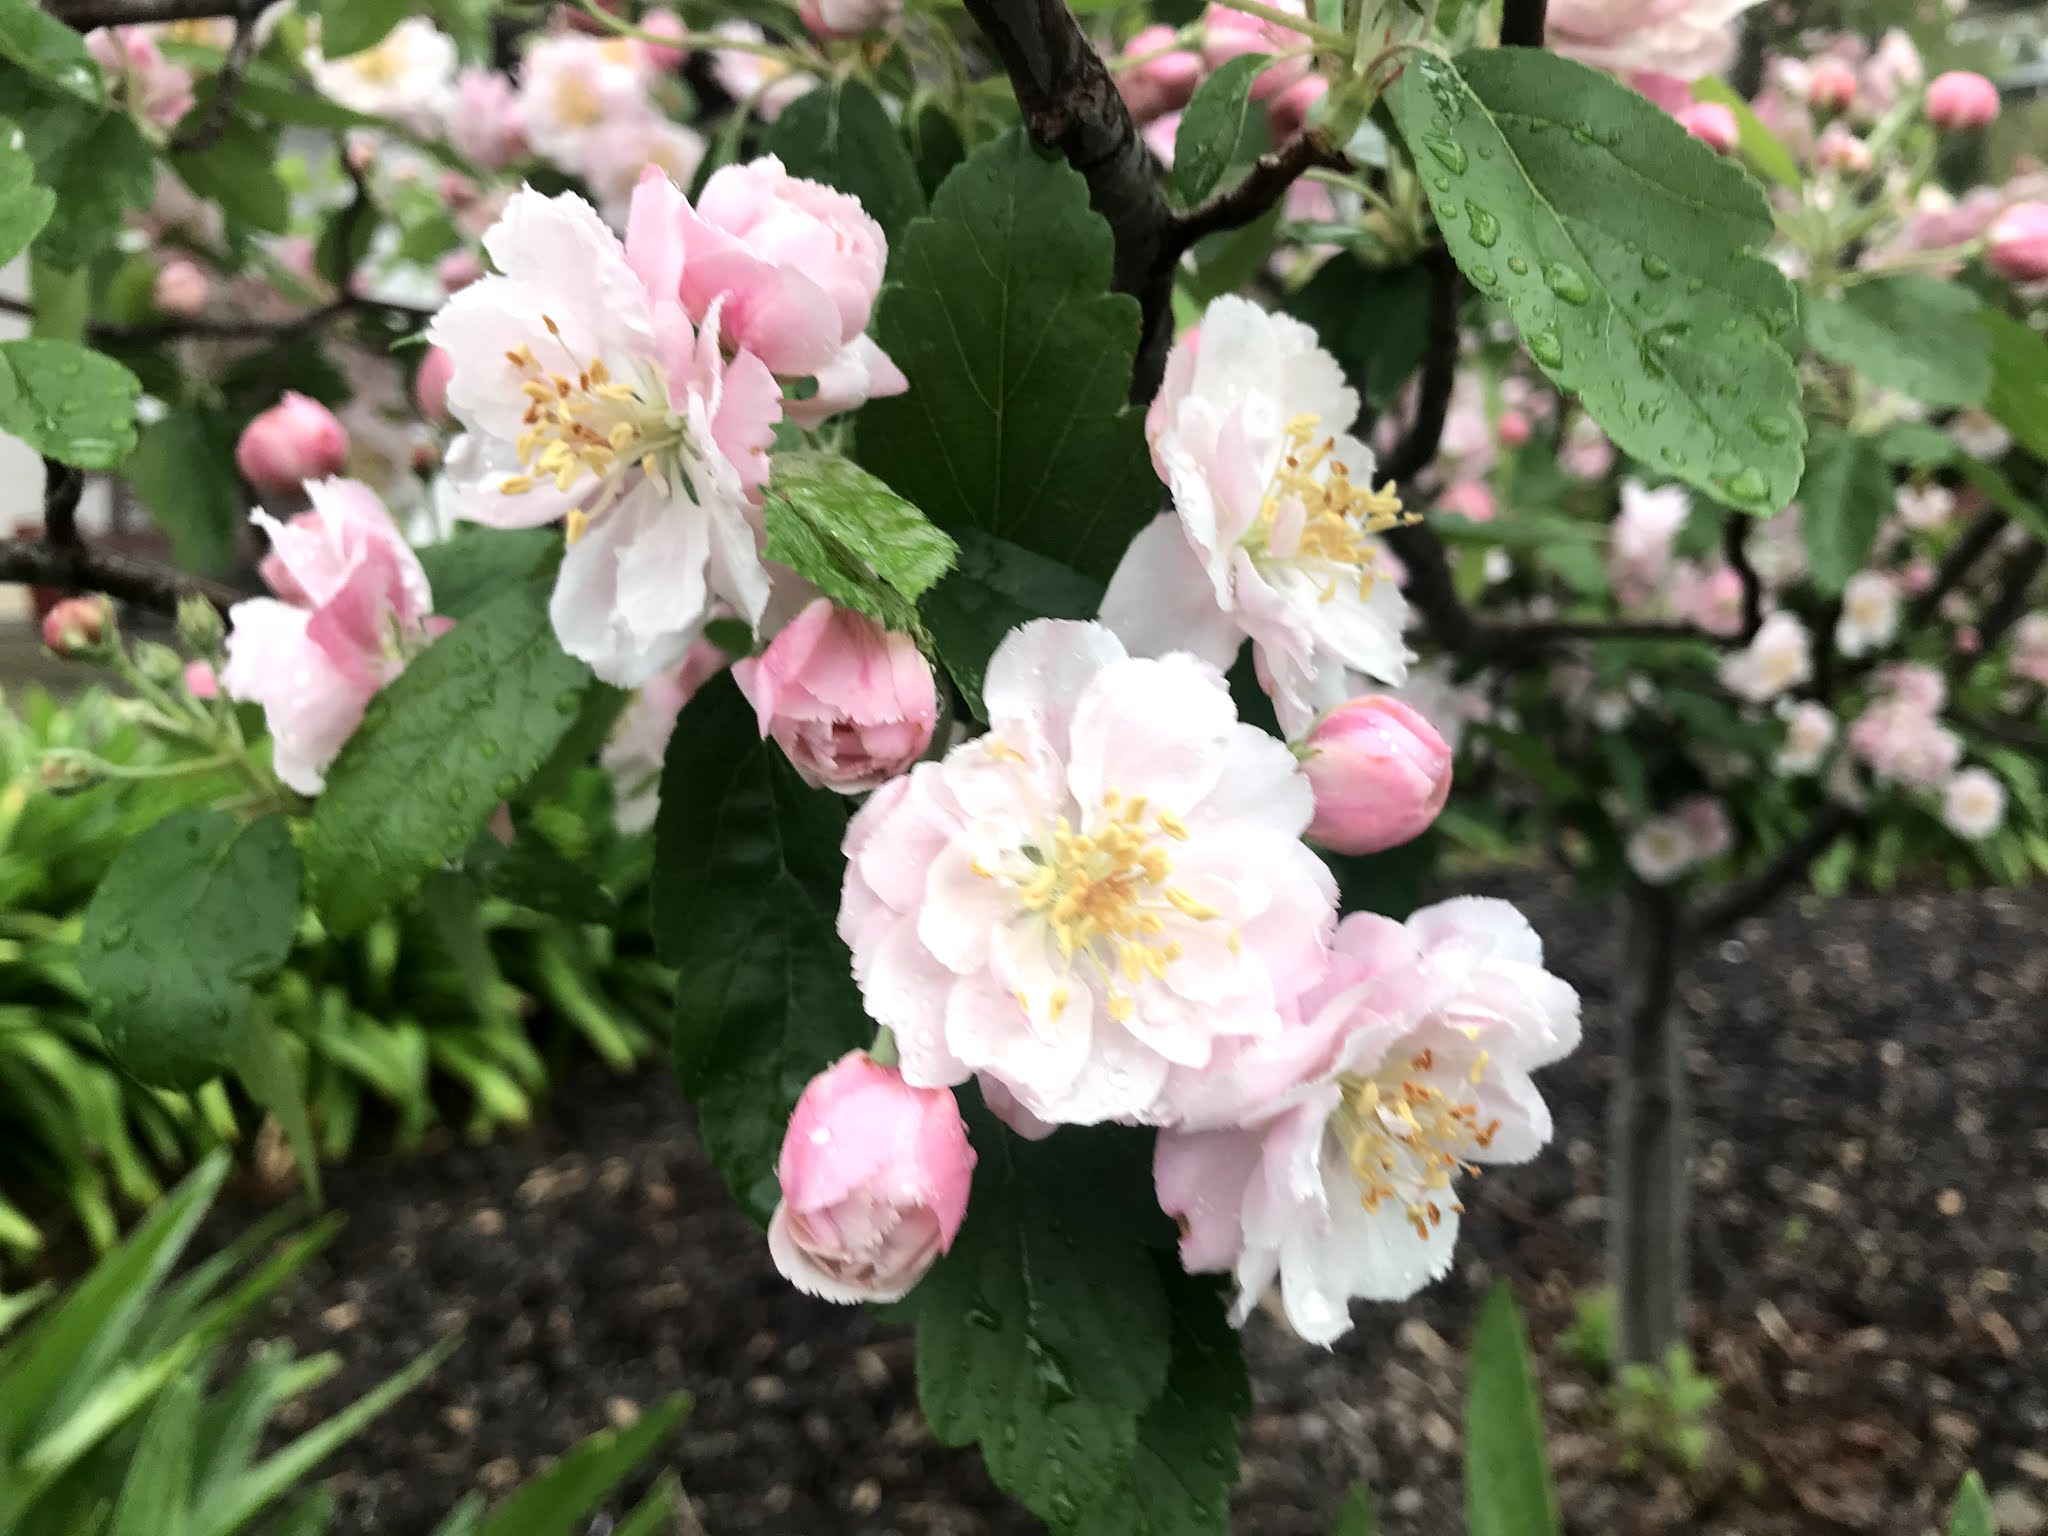
Apart from wanting to hero Magenta Madness in this week's project, I was also inspired by beautiful Apple Blossoms that I saw locally while walking my dog, Gemma. 


I was so surprised when I went to create my project to find that my Magenta Madness Classic Stampin' ink pad had not been opened as it is a delightful colour. Having said that I tend to work more with softer colours. I have used other Magenta Madness products. Here is my card: 

Magenta Madness Forever Lovely Stampin Up card, Andrea Sargent, Independent Stampin' Up! Demonstrator, Valley Inspirations, Adelaide foothills, Australia

I started by creating the blended sponged background on Shimmery White card-stock using Blackberry Bliss, Magenta Madness and Mango Melody Classic Stampin' ink. I actually first tried a different colour combination but wasn't fully satisfied, so chose this colour combo that was inspired by the Rainbow Shimmer paper. The Blackberry Bliss section isn't showing very much, but it is under the blossom spray. The blended piece was sprinkled with a little water to add some texture.

Magenta Madness Forever Lovely Stampin Up card, Andrea Sargent, Independent Stampin' Up! Demonstrator, Valley Inspirations, Adelaide foothills, Australia

I tossed up as to whether I would use Magenta Madness or Blackberry Bliss card-stock for the card front but decided to go with the deeper colour and highlight the brighter sponged centre. An oval was cut in the Blackberry Bliss card front using the Layered Oval dies and then it was dry de-bossed using the Parisian Flourish 3D embossing folder. The blended piece was adhered directly to the Magenta Madness card base and the Blackberry Bliss card front was popped up on Dimensionals.

Magenta Madness Forever Lovely Stampin Up card, Andrea Sargent, Independent Stampin' Up! Demonstrator, Valley Inspirations, Adelaide foothills, Australia

The large blossom spray from the Forever Blossoms stamp set was stamped in Versamark ink and heat embossed using Silver Stamping' Emboss powder onto Shimmery White card-stock. It was stamped 3 times. Choosing one as the full spray, the leaves were water-coloured with Pear Pizzaz Classic Stampin' ink and the smaller Water Painter with the finest tip. All the flowers and buds were water-coloured with Magenta Madness and a little Blushing Bride Classic Stampin' inks

Magenta Madness Forever Lovely Stampin Up card, Andrea Sargent, Independent Stampin' Up! Demonstrator, Valley Inspirations, Adelaide foothills, Australia

While I could have used the coordinating Cherry Blossom dies to cut the base blossom spray, I decided to take my Snips to another room, put my feet up and fussy cut all the individual flowers and buds from two of the sprays as well as the full spray. The flowers and buds were shaped with my fingers to add extra dimension. The individual flowers were layered and directly adhered in the centre of the same flower. One added layer of buds were adhered with Mini Dimensionals. The blossoms spray was positioned in place with both Multi-Purpose Liquid Glue and Dimensionals.


Some Frost White Shimmer paint was flicked over the card to add some interest and shimmer. A sentiment from A Little Lace stamp set was also heat embossed in silver and trimmed near to the words. Two bows were tied, one with Whisper White Crinkled Seam Binding and the other with a piece of over died Misty Moonlight/Silver twine from the Flowers for Every Season Combo pack. A Dark Magenta Madness Blend was used to colour the twine. Some 2020-2022 In Color Enamel dots were added as the finishing touch. I have added 5 Enamel Dots but realised one has been hidden in the photo as I usually add an odd number of embellishments.

Magenta Madness Forever Lovely Stampin Up card, Andrea Sargent, Independent Stampin' Up! Demonstrator, Valley Inspirations, Adelaide foothills, Australia

The card inner of Whisper White card-stock was mounted with a fine border of Blackberry Bliss card-stock and the blossom spray from the Forever Blossoms set was stamped in Versamark ink and heat embossed with Silver Stampin' Emboss powder. As with the card front, a few 2020-2022 In Colour Enamel Dots were added as embellishment. A Whisper White C6 envelope was stamped with the same blossom spray, though stamped in Magenta Madness Classic Stampin' ink. 

Magenta Madness Forever Lovely Stampin Up card, Andrea Sargent, Independent Stampin' Up! Demonstrator, Valley Inspirations, Adelaide foothills, Australia

Thank you for spending some time with me at my blog and sharing in some Magenta MadnessPlease don't hesitate to contact me if you have any queries, would like me to send you a Stampin' Up! catalogue or if I can help you with any products.

Catherine Proctor is our wonderful host of the Art with Heart Colour Creations Showcase. If you haven't finished visiting all of the team's colour creations, you can visit/revisit Catherine's page at What Cathy Made, where she hosts all the links to the other Showcase participants. I'm looking forward to checking out everyone's Magenta Madness creations. It is always inspiring to see the amazing projects created by my colleagues and their application of the colour.

I hope to see you again next week when members of the team will share projects that hero Mango Melody

Do look after yourself and your loved ones. Stay well, stay safe and be kind to yourself and others in these strange times. 

Andrea 💕🐾


Be Inspired - July 2026 - Creating Backgrounds

Be Inspired Design Team Blog Hop CREATING BACKGROUNDS Welcome to Valley Inspirations with Andrea and the July  Be Inspired Blog Hop  where w...